Overview#
Terraform is an Infrastructure as Code (IaC) tool, used to deploy and manage infrastructure (cloud servers, cloud DB instances etc) using code, rather than a GUI. In this tutorial, we'll look at what IaC is, why it's thought to be a better idea than using a GUI, and how Terraform achieves it. We'll then implement a rather unique project, to create a Spotify playlist using Terraform!
We'll use an AWS EC2 instance for the tutorial because it's much faster and straightforward than to fight with our miserly personal laptop RAMs. Instructions to set up an AWS EC2 instance can be found here
Introduction to IaC#
Infrastructure refers to everything that's used in the deployment of an application - including the server configurations, load balancers, access groups, VPCs and a zillion other things. As beginners, we often use GUIs to configure this infrastructure - such as the AWS EC2 setup you'd have done - configuring the security groups, storage etc by clicking away at the console.
This practice however, is often not optimal when you're working with hundreds of instances which need very precise configurations, and are worked on by hundreds of developers. In this case, we take a trick off the old hat - just like how our normal application code changes are managed and maintained using version control, we use code to configure our infrastructure, and deploy that configuration to version control so that other developers can see it, edit it and use it.
How exactly does that work? The configurations that we do work via APIs that modify and manage the resources and infrastructure. When we use a GUI like the EC2 dashboard, it's the UI that's making the calls to the APIs for modifying the infrastructure. The same APIs can also be accessed via code, to give the same result. And that's precisely what IaC is.
Intro to Terraform#
Terraform is the tool to bring IaC to reality. It has a configuration language using which you can interact with the infrastructure platform APIs, like AWS EC2 APIs, to add, update and remove resources.
These configuration files can be deployed to version control, meaning that other developers on the team can refer to these or update them as required, without the intervention of the person who first set it up.
So how exactly does it all come together in practice?
1. Making configuration edits#
The developers first make the changes to the infrastructure in the configuration language
2. Execution plans#
Terraform then generates an execution plan based on the configuration changes you made, and asks you for your approval to ensure there're no unexpected changes. You wouldn't want a semi colon removed by the ill famed intern to bring down your primary server, would you?
3. Resource graph#
Infrastructure takes time to setup and configure, especially when there's tons of it involved with specifics in each. Thus, it creates a resource graph to allow it to build and provision independent resources in parallel to save time
4. Change automation#
When you make changes to your infrastructure, Terraform applies those changes with as much efficiency as possible, and with minimal human intervention required.
Now that we're clear with the concepts, let's get out hands dirty by setting up Terraform
Setting up Terraform#
As discussed, we'll be using an EC2 instance to set up and configure Terraform and the other necessary dependencies, since it has a much better RAM and doesn't heat your laptop to 10 million degrees.
You can follow the instructions in the article linked in the overview for setting up an EC2 instance. If not, you can continue on your personal laptops. OS wise instructions can be found here
Once you're logged into the EC2 terminal, we'd first need a few packages that Terraform uses. Execute the following commands on the terminal
sudo apt-get update && sudo apt-get install -y gnupg software-properties-common curl

curl -fsSL https://apt.releases.hashicorp.com/gpg | sudo apt-key add -
curl -fsSL https://apt.releases.hashicorp.com/gpg | sudo apt-key add -

Finally, to install terraform (We do the apt-get update to update the repository we installed in the previous step):
sudo apt-get update && sudo apt-get install terraform

Once complete, type terraform -help and a list of options as below will indicate that the installation has been successful.

Setting up Docker Engine#
Now that we're complete with installing Terraform, the next step is to set up Docker Engine, since we'll be using a Docker image for our project.
First, we update the apt package index and install packages to allow apt to use a repository over HTTPS:
sudo apt-get update
sudo apt-get install \
    ca-certificates \
    curl \
    gnupg \
    lsb-release

Next, we add Docker's official GPG key. GPG stands for GNU Privacy Guard and is essentially an encryption mechanism to keep your docker images and installations secure.
curl -fsSL https://download.docker.com/linux/ubuntu/gpg | sudo gpg --dearmor -o /usr/share/keyrings/docker-archive-keyring.gpg

Next, we add the stable repository
 echo \
  "deb [arch=$(dpkg --print-architecture) signed-by=/usr/share/keyrings/docker-archive-keyring.gpg] https://download.docker.com/linux/ubuntu \
  $(lsb_release -cs) stable" | sudo tee /etc/apt/sources.list.d/docker.list > /dev/null
Now, we'll install the docker engine
sudo apt-get update
sudo apt-get install docker-ce docker-ce-cli containerd.io
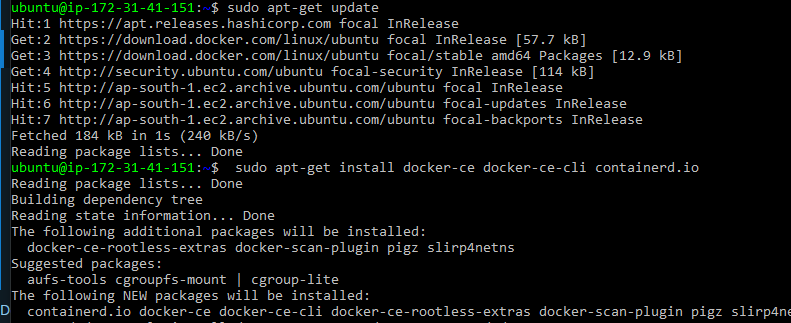
In case you're wondering, apt-get update downloads the package lists from the repositories and "updates" them to get information on the newest versions of packages and their dependencies.
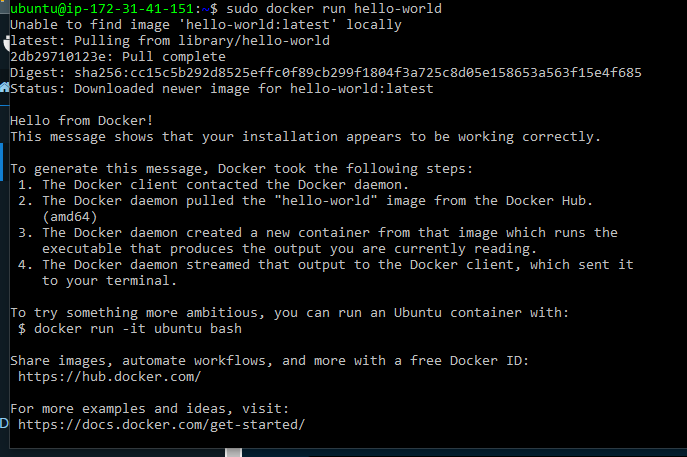
Finally, to ensure if Docker has been installed successfully, run the following hello world image.
sudo docker run hello-world
Configuring Spotify#
Next, we'll set up Spotify developer dashboard. Go to https://developer.spotify.com/dashboard and login/signup. Once you do, you should see a dashboard like this :

Click the Create an App button, and enter details like so :

and click create
Once the application is created, click the green Edit Settings button on the top right side.
Go to the redirect_uris section and add a URL - http://localhost:27228/spotify_callback. Click on add and then save at the bottom. Do not forget to save - it can be easily missed.
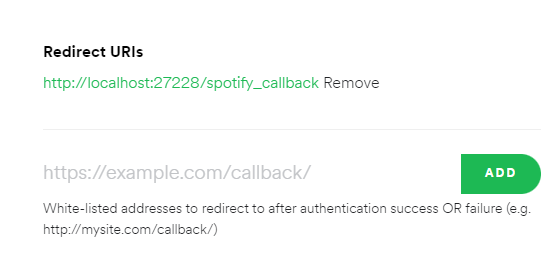
This URL is what we'll be redirected to, once we're authenticated by Spotify, to have rights to create the playlist.
One question you might have - we're using an EC2 instance for the Terraform setup. Why did we add a localhost link there? We'll come to that answer in a bit.
Now, since we're dealing with a port that's expected to have some traffic, we'll need to add it to inbound rules of our AWS security group for our instance to avoid getting a failed request. If you don't know how, follow the instructions here

Now, we'll have to add the redirect URL as an environment variable to our EC2 instance. Go to the terminal and enter the following
export SPOTIFY_CLIENT_REDIRECT_URI=http://localhost:27228/spotify_callback

Next, we'll create a .env file to host our Spotify app credentials.
Type
nano .env
to create a .env file and open it in the nano text editor.
We'll be adding two variables, the client ID and the client secret :
SPOTIFY_CLIENT_ID=
SPOTIFY_CLIENT_SECRET=
For these values, go to the Spotify developer dashboard and copy the client ID and secret and paste them here

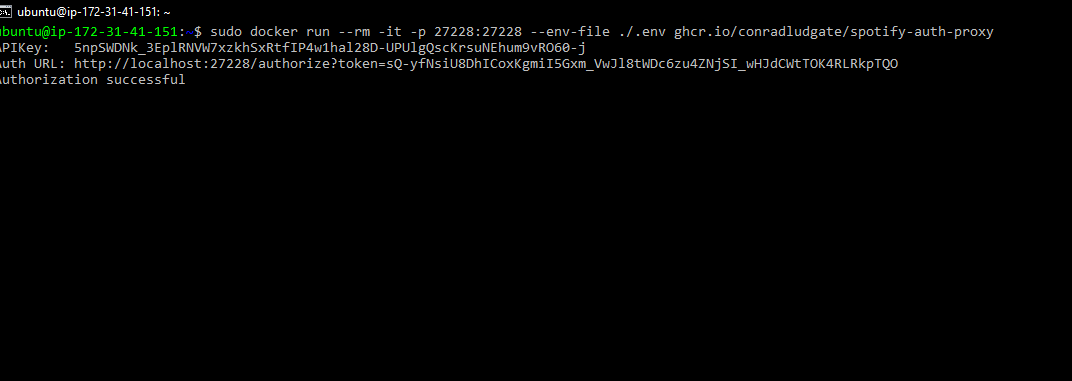
And now, the moment of truth - we'll use the docker image of the application to run it and see if we're able to authenticate ourselves. In the terminal, enter the following command
docker run --rm -it -p 27228:27228 --env-file ./.env ghcr.io/conradludgate/spotify-auth-proxy
You shoul see an output like this
Unable to find image 'ghcr.io/conradludgate/spotify-auth-proxy:latest' locally
latest: Pulling from conradludgate/spotify-auth-proxy
5843afab3874: Pull complete
b244520335f6: Pull complete
Digest: sha256:c738f59a734ac17812aae5032cfc6f799e03c1f09d9146edb9c2836bc589f3dc
Status: Downloaded newer image for ghcr.io/conradludgate/spotify-auth-proxy:latest
APIKey: xxxxxx...
Token:  xxxxxx...
Auth:   http://localhost:27228/authorize?token=xxxxxx...
Copy the http://localhost url and paste it in a new browser tab.
Well?
Did you get a 'Site can't be reached' page? Of course you did. Wonder why?
Your server is running on EC2, not on localhost, as we'd noted earlier. So, in the URL, replace the localhost with the Public IPv4 address of your EC2 instance. Once you do that, the page would load into an authorization page like this :

Click on agree, and you'll be redirected to the localhost link you'd given as the redirect url. Again, replace the localhost with the ip of the server, and you'll be able to see this message :
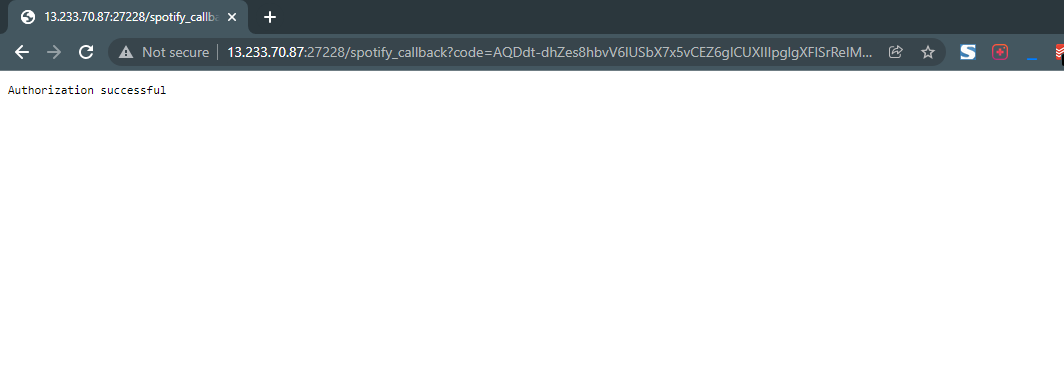
And your terminal will be updated as follows :
Keep the server up and running. Open a new terminal and ssh into it once again to connect to the EC2 instance - we need this one for setting up the terraform configuration.
Now, we'll be working on the terraform configuration we'd need for our app. Use this command to clone a repo that contains the Tf configuration that searches for songs by Dolly Parton and creates a playlist out of them.
git clone https://github.com/hashicorp/learn-terraform-spotify.git
And cd into the directory
cd learn-terraform-spotify
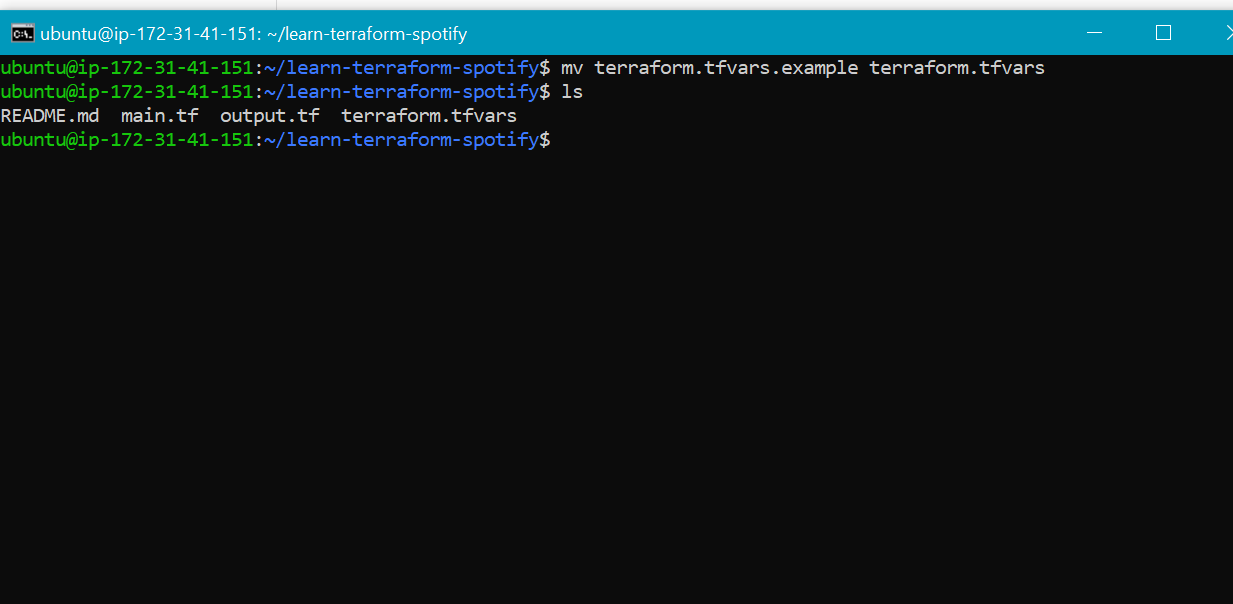
Do an ls command, and you'll see three files in the repo
Enter cat main.tf to open the file. The content will be something like this
terraform {
  required_providers {
    spotify = {
      version = "~> 0.1.5"
      source  = "conradludgate/spotify"
    }
  }
}

variable "spotify_api_key" {
  type = string
}

provider "spotify" {
  api_key = var.spotify_api_key
}

resource "spotify_playlist" "playlist" {
  name        = "Terraform Summer Playlist"
  description = "This playlist was created by Terraform"
  public      = true

  tracks = [
    data.spotify_search_track.by_artist.tracks[0].id,
    data.spotify_search_track.by_artist.tracks[1].id,
    data.spotify_search_track.by_artist.tracks[2].id,
  ]
}

data "spotify_search_track" "by_artist" {
  artists = ["Dolly Parton"]
  #  album = "Jolene"
  #  name  = "Early Morning Breeze"
}

output "tracks" {
  value = data.spotify_search_track.by_artist.tracks
}
The first terraform block contains the terraform configuration, followed by the provider details. Here, we'll enter the spotify API key, which'll allow us to access the developer account and add the song details
Then come the details of the playlist itself - we search the artist Dolly Parton, and (commented out) the album and name of the song.
Next, Rename the terraform.tfvars.example file terraform.tfvars so that Terraform can detect the file, using the following command :
mv terraform.tfvars.example terraform.tfvars
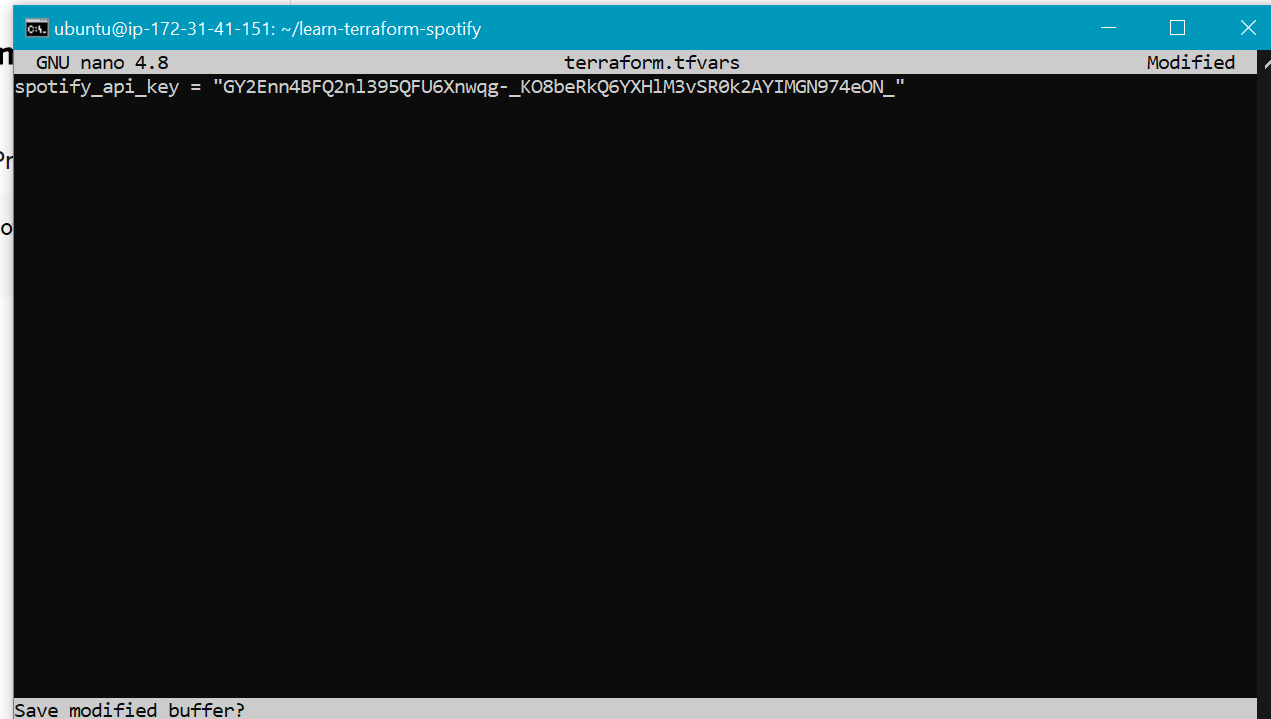
Next, open the above file using nano and add the API key which you'd copied earlier from the running Docker container. Remember to keep the quotes there.
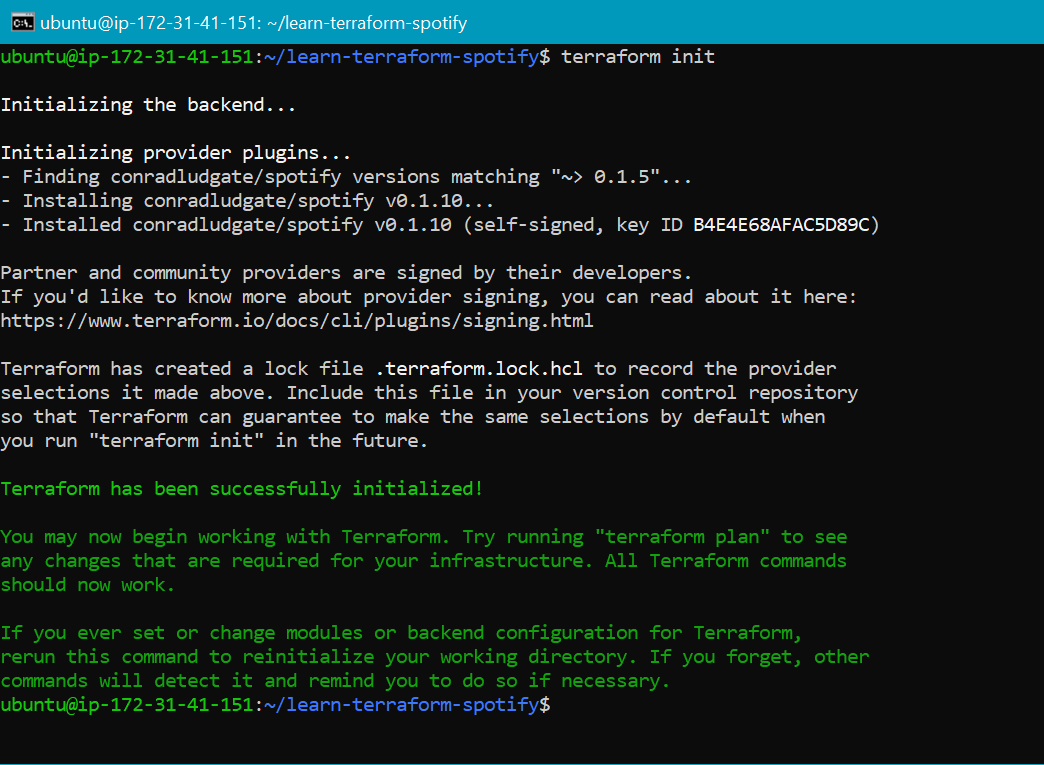
Next, we'll initialize terraform, which will install the Spotify provider, using the following command :
terraform init
Now, enter
terraform apply
to apply the configuration you have made. You'll see a confirmation with the details you've entered, like so :
Terraform used the selected providers to generate the following execution plan. Resource actions are
indicated with the following symbols:
  + create

Terraform will perform the following actions:

  # spotify_playlist.playlist will be created
  + resource "spotify_playlist" "playlist" {
      + description = "This playlist was created by Terraform"
      + id          = (known after apply)
      + name        = "Terraform Summer Playlist"
      + public      = true
      + snapshot_id = (known after apply)
      + tracks      = [
          + "2SpEHTbUuebeLkgs9QB7Ue",
          + "4w3tQBXhn5345eUXDGBWZG",
          + "6dnco8haegnJYtylV26cBq",
        ]
    }

Plan: 1 to add, 0 to change, 0 to destroy.

Changes to Outputs:
  + playlist_url = (known after apply)

Do you want to perform these actions?
  Terraform will perform the actions described above.
  Only 'yes' will be accepted to approve.

  Enter a value:
Enter yes, and the playlist will be created
  Enter a value: yes

spotify_playlist.playlist: Creating...
spotify_playlist.playlist: Creation complete after 1s [id=40bGNifvqzwjO8gHDvhbB3]

Apply complete! Resources: 1 added, 0 changed, 0 destroyed.

Outputs:

playlist_url = "https://open.spotify.com/playlist/40bGNifvqzwjO8gHDvhbB3"
And there you have it. You can open the link in the browser.
Conclusion#
Thus, in this tutorial, we understood what IaC is, and the use cases for it, and how it's better than the GUI based configuration. We got introduced to Terraform and how it works.
We then set up a Spotify playlist using Terraform, getting a decent overview of how it works in the process.