This post has been written in collaboration with BacktoBackSWE.com, a portal for interview preparation.
Overview#
In this tutorial, we'd be understanding some core concepts of load balancing - what it is, why we need it using a practical example. We'll then be using setting up three server instances using AWS EC2. We'll then understand what Nginx is, and configure it on the servers so that one of them acts as a load balancer and directs requests to the other two
Prerequisites#
A basic understanding of AWS will be helpful - what is an instance, what is SSH etc. You'll need an AWS account to set up the servers. If you don't have one, you'll have to sign up on https://aws.amazon.com. You'll be asked for Credit/Debit card details, but as long as you stick to the instructions in this tutorial, you won't be charged.
Introduction to load balancing#
Very few things in software engineering sound like they are. Fortunately, load balancing is one of them. Let's consider Uber - an application that sees varying loads in a day based on the time of day - if it's rush hour, the application will be overloaded with requests from the thousands of folks who need to get to their offices on time. In contrast, in the middle of the night, the number of requests will be way lesser.
To handle such scenarios, what does Uber do? They keep multiple servers - each with the same application as their sister server, and all of these sister servers are connected to a main load balancer, not directly to the outside world. Now, when the requests for booking a ride come in, they go to the load balancer, which redirects the requests to any of the sister servers. The LB also keeps track of how many requests are being processed by each server, so that any one server doesn't get overwhelmed and die of exhaustion, while the others sit around swatting flies. This way, the 'load' - the number of requests coming in, gets 'balanced' across the servers, and thus, allows all users to have a smooth experience.
That's the core concept of load balancing.
Introduction to AWS hosting services and EC2#
AWS isn’t something you’re new to, or you won’t be reading this tutorial, but a one liner for it is that it’s a cloud hosting solutions provider by Amazon that allows you to host, manage and scale applications. For the sake of this tutorial, AWS will provide you the remote server where your React app will eventually run. The server itself will be located in some Amazon Data center, but you’d be able to access it remotely from your PC via a set of commands. We’ll be using the EC2 service of AWS. EC2 stands for Elastic Compute Cloud, and it does what we described above - lets you access a remote server and host applications on it
Setting up an AWS EC2 instance#
Next, let’s set up a remote EC2 server instance. You’ll need an AWS account for the same. If you don’t already have one, you’d need to create it. Remember, it’ll ask you for debit/credit card credentials, but as long as you follow the steps in this tutorial, you will not get charged for it.
To set up an AWS account, go to https://aws.amazon.com and follow the steps to set up an account. You’ll get a confirmatory mail once your account is set up and ready.
Once you login to the account, you should see a screen similar to this

Click on the blue ‘Launch a virtual machine’ line, and you’ll be taken to the EC2 setup screen, wherein you’d have to select an AMI, an Amazon Machine Image.

An AMI describes the configuration of the server you’d be using to host your application, including the OS configuration - Linux, Ubuntu, Windows etc. If you have been following tech news, a Mac version was also released for the first time in early 2021.
We’ll be going with Ubuntu server 20.04. You may choose another, but the rest of the steps might vary slightly. Also, do NOT choose an option that doesn’t have the ‘Free tier eligible’ tag, otherwise, you’ll be having to sell off some jewellery to pay the AWS bill.

The next step is choosing an instance type. This describes the server configuration, including CPU, memory, storage, and so on.
Here, we’ll pick the t2.micro instance types, which is the only one available in the free tier. You’ll need larger ones as your application size and requirements in RAM or processing speed increase. In case you’re not clear with any of the column fields, click the information icon next to the headings to get a description of what it means.

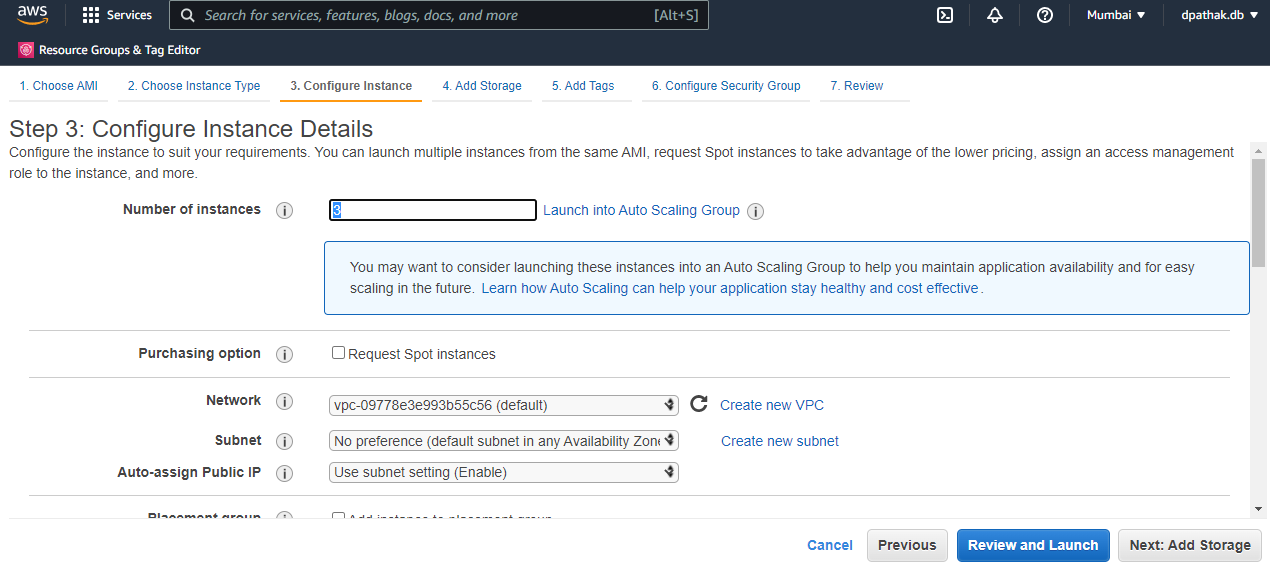
Once this is done, click on Next: Configure Instance Details
Here, you’re asked the number of server instances you wish to create and some properties regarding them. We'll be going with 3 instances - 2 as server instances, and third a load balancer. They'll be ditto copies of each other for now, until we configure one of them.
Next, click on Add storage
As the name suggests, storage refers to the amount of storage in our server. Note that this isn’t the storage you’d consider for storing databases. This is temporary storage that will last only as long as the instance lasts, and thus, can be used for things like caching. A size of 8GB, that’s part of the free tier, and is the default, suffices our purpose.

Next, we’d be adding a tag for our instance. It is a key:value pair that describes an instance. Since we only have a single instance right now, it is not very useful, but when you are working with multiple instances and instance volumes, as will be the case when the application scales, it is used to group, sort and manage these instances.

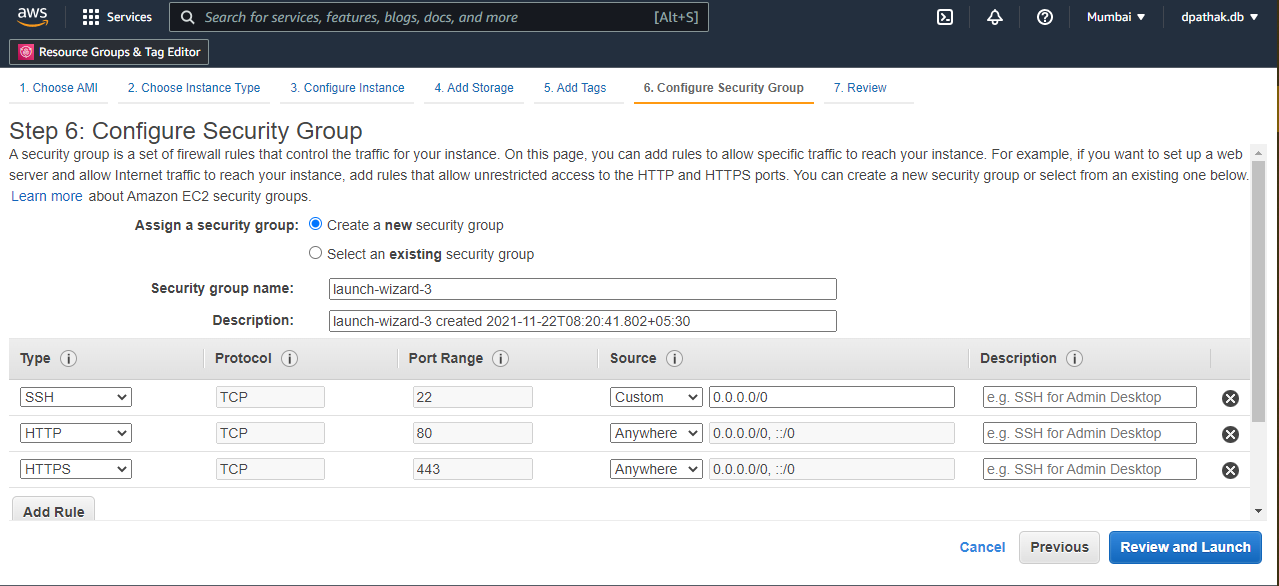
Next, we’ll be adding a security group to our instance. A SG is practically a firewall for your instance, restricting the traffic that can come in, what ports it can access, called inbound, and the traffic that can go out, called outbound. There’s further options to restrict the traffic based on IP. For instance, your application will run on port 3000, and thus, that’s a port you’d want all your users to be able to access. Compare that to a Postgres database service running on port 5432. You don’t want anyone else but you meddling with that, so you’ll restrict the IP of that port to only you.
Create a new security group. Next, we have to add the rules for the group, describing what ports are accessible to the outside world, and who they are accessible to. Note that outbound traffic has no restrictions by default, meaning that your application can send a request to anywhere without any restriction from the SG unless you choose to restrict it. As for inbound, we’ll first add HTTP on port 80 and HTTPS on port 443. Next, we’ll add an SSH rule for port 22. SSH stands for Secure Socket Shell and will allow you to connect to your instance, as we’ll soon see in the coming section.
For simplicity, we’ll keep the sources of all of those at ‘anywhere’. Ideally, SSH should be limited only to those you want to allow to connect to your instance, but for the sake of the tutorial, we’ll keep it at anywhere.
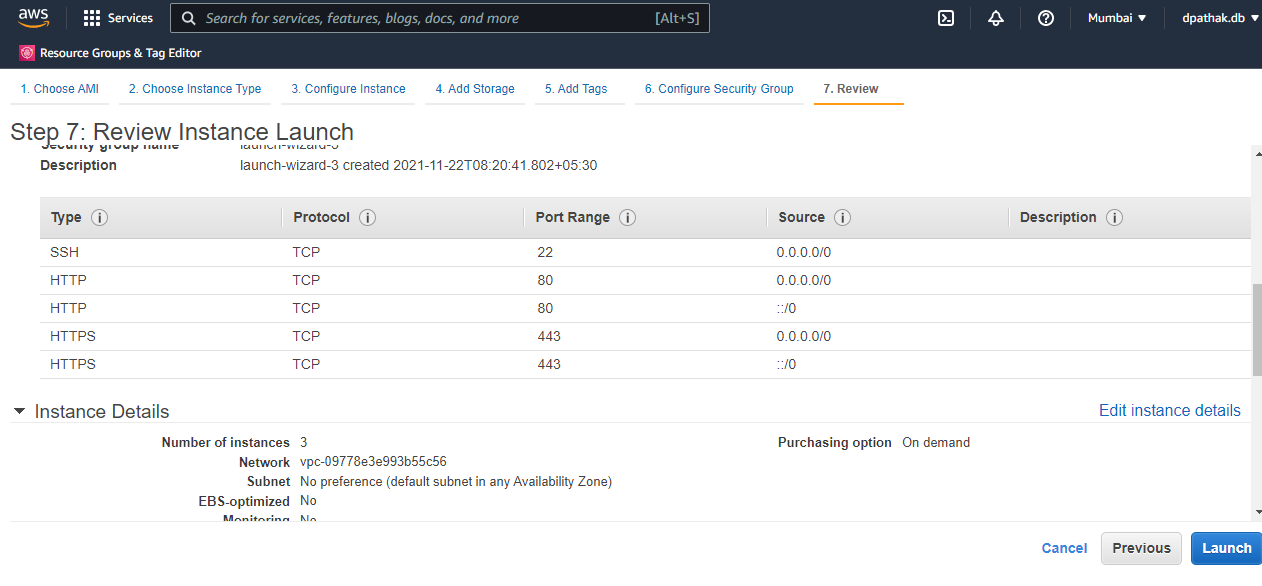
Once the rules are set, click on Review and Launch. You’ll be shown the configurations you’ve selected to ensure you didn’t make a mistake anywhere.
Once you hit launch, you’ll be asked to create/select a key pair. As the name suggests, it’s a pair of keys - one held by AWS, and the other by you, that acts as a sort of password for you to connect to your instance. Anyone wishing to SSH into this instance must have access to this key file or they won’t be able to.
The content of the file is RSA encrypted, which uniquely determines your access to the instance. Click on create new, give it a name(that you must remember), and download it.
It’s recommended that you download the .pem key file to C:/Users/Home directory on Windows( /home/usr or similar for Linux and Mac), to avoid any access issues.

Once the file is downloaded, you’ll get a prompt that your instances are starting, and after a few minutes, they'll be started. Your EC2 home page should look like this (Three running instances. Ignore the fourth terminated one you can see here. It's an old one):
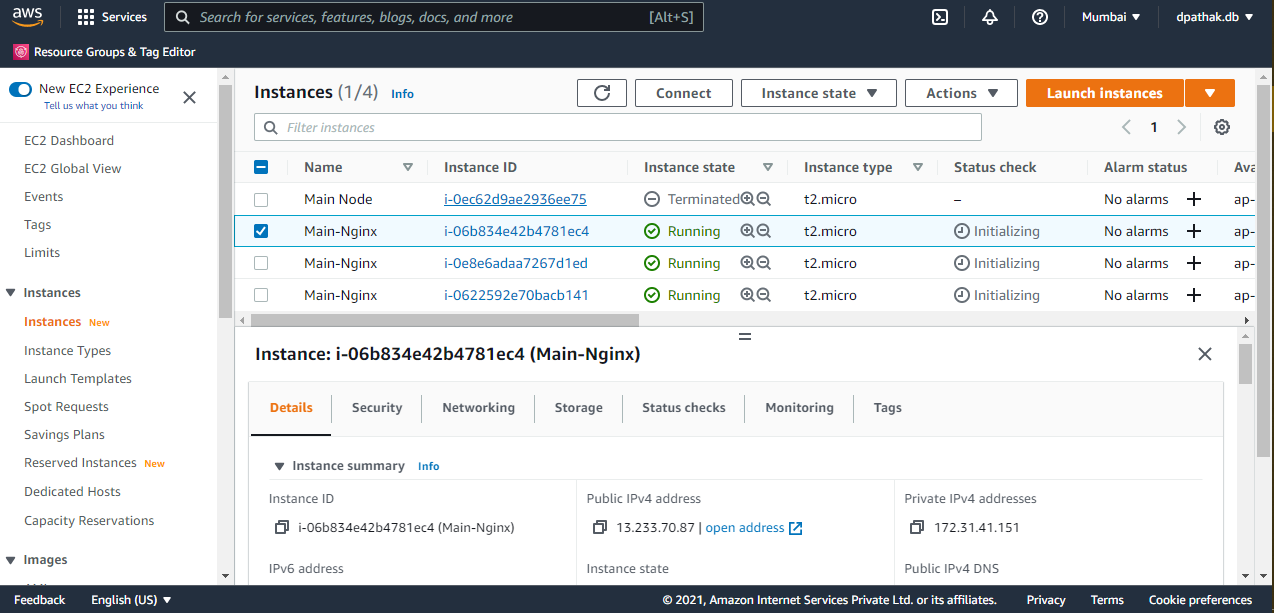
For easier understanding, let's rename our instances. If you hover around their names, you'll see a pencil icon - you can click on it to rename the instances - Server-A, Server-B and Load-Balancer, like so :

Now that our instances are running, we have to connect to each one of them. We'll connect to them via the SSH command line, the terminal. For easy access, we'll stay connected to all three of them via three separate terminals
Select one of the instances, and click on Connect. You'll be taken to another page.
This lists a few ways in which you can connect to the instance. Go to the SSH client tab. Now, we’ll be using the terminal to connect to your instance(remote server). For that, open a new terminal as administrator(superuser or sudo for linux), and navigate to the directory where you stored the .pem key file.
First, we’ll run the chmod 400 keyfilename.pem command to allow read permission on that file, and remove all other permissions. Note that if the key file gets overwritten, you’ll lose SSH access to that instance forever, and you’ll have to recreate the instance, since you won’t get the .pem file to download again.
And once you’re done with that, it’s time for the high jump - connecting via a simple command to a remote computer thousands of miles away. The command to run will be on the AWS page as shown above - the ssh -i one
It means that we’re ssh-ing into the instance defined by the DNS(the .amazonaws.com thing), and proof that we’re authorized to do it, is in the pem file.
It’ll ask a confirmation prompt that you have to type yes to, and if all works well, you should see a welcome to Ubuntu text as shown above, which means that you’re now logged into the instance.
Repeat the exact same process for the other two servers in two separate command prompts
If all goes well, you should have the three cmds open, looking like this
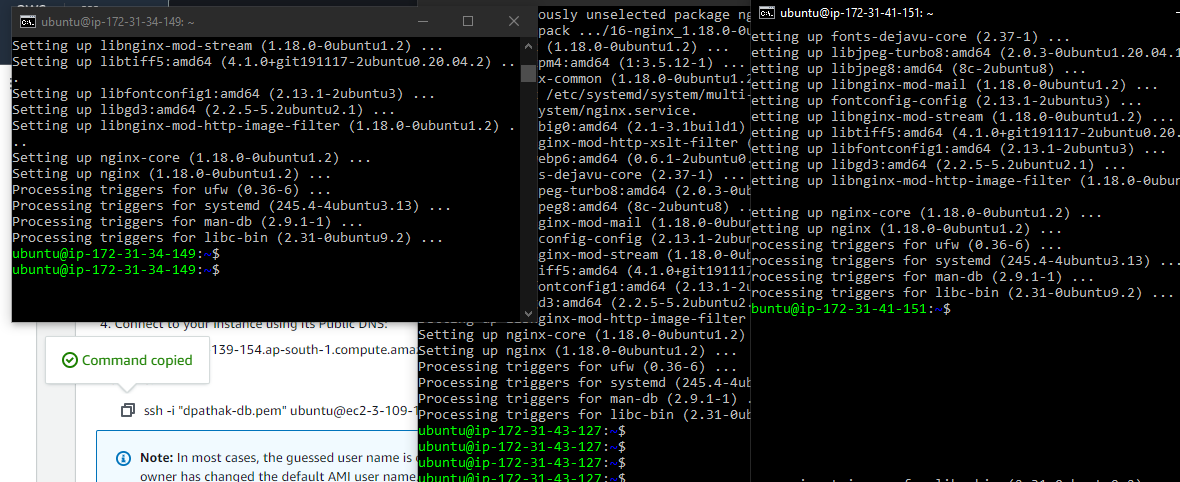
Great going.
Now, we'll be installing Nginx onto each of the three servers, to permit us to load balance
Intro to Nginx#
Nginx is a lot of things. Primarily, it's a web server - it takes requests for applications hosted on it, and returns the corresponding files as response to the requests. What does it look like? It's essentially a software that you download and setup on a machine. It has configurations, that once setup, will allow the host machine to accept incoming requests, process them, and send out the outputs.
This request-response ability of Nginx can be put to other uses as well - such as load balancing, reverse proxying, and so on. Load balancing is what we're going to use it for, in this tutorial.
Since Nginx has the ability to accept requests, we can also configure it to accept requests, and based on preset rules, direct those requests to other Nginx servers.
See the reason for the three servers now? Each of those will have nginx set up on them, and thus, all of them can accept incoming requests and return the corresponding responses. We'll configure one of them to work as a load balancer, such that all it does is accept the traffic, and redirect it to either of the two other servers.
Now that we're clear with the theory, let's see how we can set up our servers for the task
Configuring the servers#
Go to the server A command prompt, and type the following command
sudo apt-get update
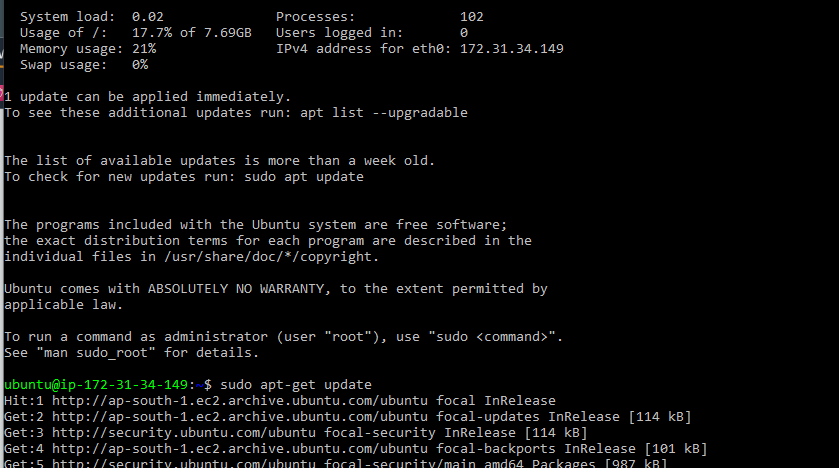
Once that's done, this command :
sudo apt-get install nginx

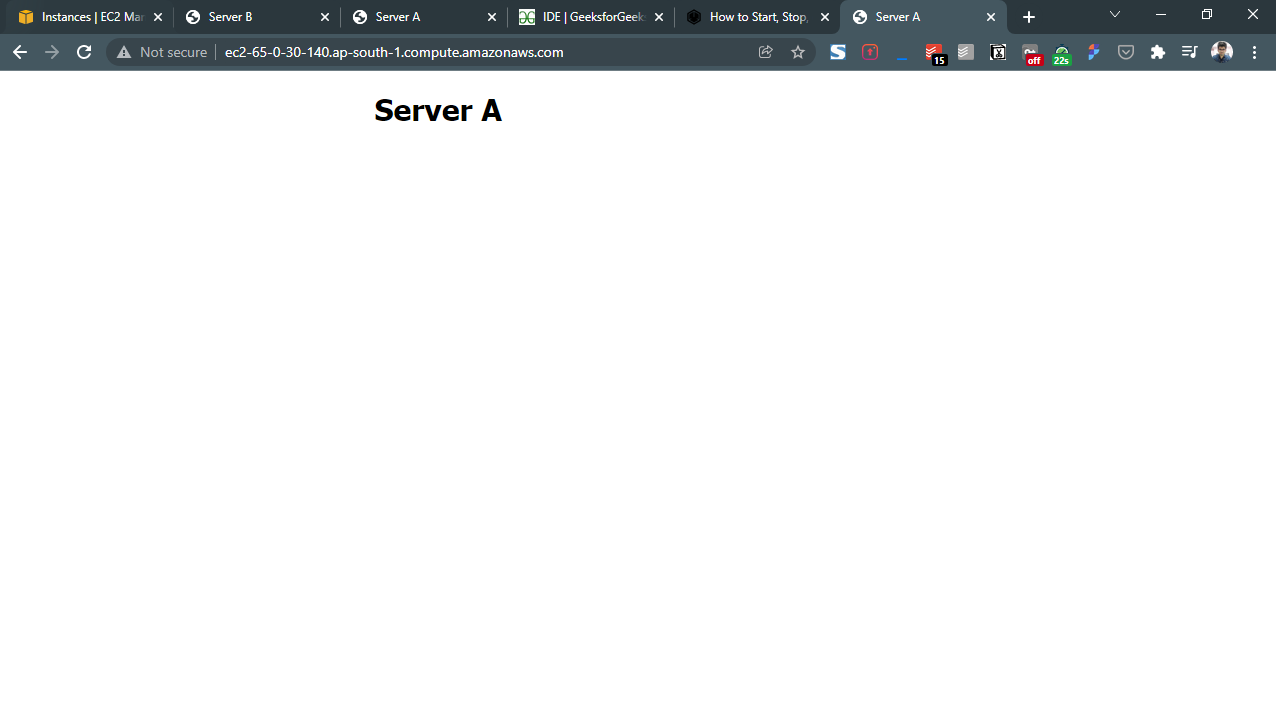
Now, go to the EC2 instance dashboard, select Server A, copy its public IPv4 DNS from the details below(remember, copy it - directly opening the URL might lead to unexpected errors) and paste it in a new browser window.
You should see a plain HTML page like so :

Repeat the exact same procedure for servers B and Load Balancer, and ensure that you see the Welcome to Nginx page on the public DNS links for both of these as well.
Next, let's try to edit this page so that we can uniquely identify the server the page is on just by looking at it.
As you might've guessed, the content comes from a simple index.html page that comes with the nginx installation.
In the terminal for server B, we'll go into the directory that houses the index.html page using the following command :
cd /var/www/html
Type
ls -l
to list the files inside the directory, and sure enough, you'll see a file named something like index.nginx-debian.html (The nginx-debian thing refers to the nginx version tells that we have the Debian distribution of nginx downloaded - Debian is a Linux distribution, like Ubuntu and Fedora)
This is the file whose contents we'll have to edit to customize them for the server we're on.
Type
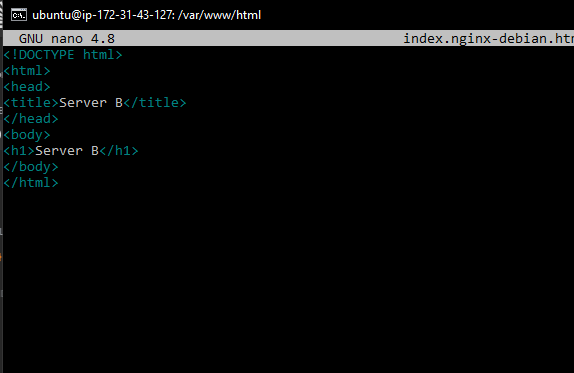
sudo nano index.nginx-debian.html
which will open the file in the Nano editor - a text editor for Ubuntu. And sure enough, you can see the Welcome to nginx content in the file that you are able to see on the public DNS.
Replace the content of the file like this (for server B).:
Once that's done, do a command/Ctrl + X to exit the editor. The terminal will prompt if you want to save it - type Y and hit enter to return back to the terminal.
Repeat the exact same process for Server A.
Configuring load balancer#
Now is the main configuration change - configuring the load balancer to manage the requests going to A and B by routing through it. Based on the ratio we decide, x% of the requests will be going to server A, and the remaining to B.
This configuration is done in the nginx.conf file. To go there
cd /etc/nginx
Then, to open the file
sudo nano nginx.conf
Do NOT forget the sudo since you'd otherwise not be able to save the file after editing it - editing a configuration file requires superuser permission.
You'll see some pre-written content in the file already. Clear all of it, and paste the following content in there :
http {
        upstream myapp
        {
                server <Server_1_Address> weight=1;
                server <Server_2_Address> weight=1;
        }

        server {
                listen 80;
                location / {
                        proxy_pass http://myapp
                }
        }
}
And replace the <Server_1_Address> by the Public IPv4 address of Server A, and similarly, for B.

Since we updated the configuration file, we'd need to restart nginx, which we do by this command :
sudo systemctl restart nginx

Note that we didn't have to restart the service after updating the index.html file, since we didn't change any Nginx configuration when we edited the file.
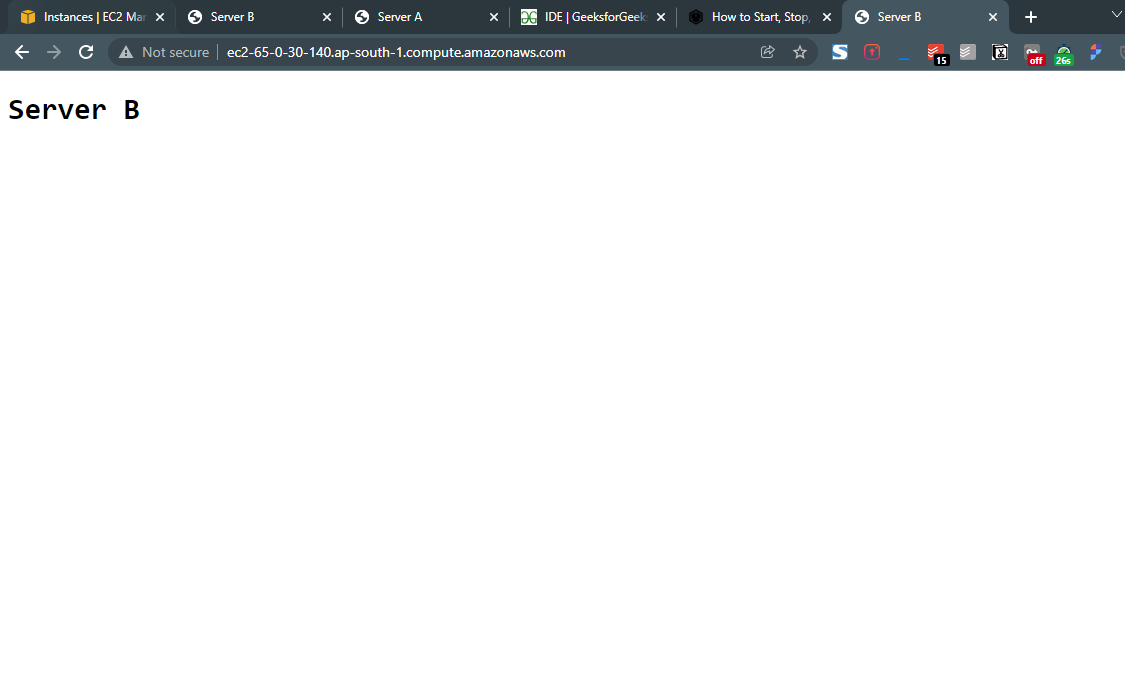
Now, if you go to the public DNS of Load balancer and refresh it - you'll see Server A. Refresh it again - Server B, and this alternates each time.
So, what just happened? And what's all the gobbledygook we wrote in the conf file?
The first http {} reflects the type of requests we'll be accepting - HTTP requests. Upstream means that the requests will be sent FROM the load balancer, to the other servers. What other servers? The servers defined inside that block - defined by their IP addresses. 'myapp' is the name of the group of servres. We then have the server addresses, and weights for each. What do the weights represent? The ratio of the requests - right now, it's 1:1, that's why we see requests going between A and B alternately. You may tweak the weights to see the corresponding changes. In real life, some servers are often larger and can handle more requests, and thus, are allotted more weight.
The server{} block shows the port number the requests should be listened for on(80 - the HTTP port). The remaining line is the most crucial - it essentially says, whenever you encounter the route '/', replace it with http://myapp, aka, our server group. That one line is responsible for directing requests to the respective servers.
Thus, this is how we've successfully setup a load balancing system using three AWS servers