Overview#
In this section, we'll get a deep understanding of what it means to have 'serverless' applications - most importantly, why it's a misnomer. We'll understand the use case of using this paradigm, how it's implemented on the ground and finally, take up a hands on example to create a sample NodeJS service using AWS Lambda.
Introduction#
Web applications and services need servers to run on. These servers can be custom on-premise servers that large companies themselves own, or cloud servers by providers like EC2 by AWS. We've used the latter in a few tutorials in the past.
While the cloud servers leave out the complexity of server maintenance, we still need to manually configure load balancing and track usage. We'll be charged for all the time the server's up, irrespective of whether or not we're the server's being used at all or not. This is suboptimal for many small organizations, who not only want to minimize cloud costs, but also can't spare enough manpower on customizing load balancing and server instance uptime.
Thus came the concept of 'Serverless'. First things first, it's NOT like there's no server at all. It's just that we aren't granted access to an entire server like we were for EC2. Instead, we just give the cloud provider the application code we need to run, and then it's their job to run the code, ensure that it scales up/down based on traffic, allowing us to focus on the application itself.
How exactly does this work?#
The following Block diagram describes how lambda works

Lambda uses resources that are the same that a server-driven deployment would've given us - EC2 instances, coupled with load balancers, security groups, auto-scaling services. However, unlike the latter, these resources are configured entirely on the backend, away from the user, and automatically scaled up/down as per traffic. All the user needs to do is provide the code, and let Lambda take care of ensuring it runs.
What we'll be doing#
We'll be setting up a NodeJS service using AWS Lambda, configuring the triggers that would cause it to run, and then hitting those triggers to run it, and tracking the logs as the function runs.
Setting up AWS lambda#
Go to aws.amazon.com and sign up for an account if you don't already have one.
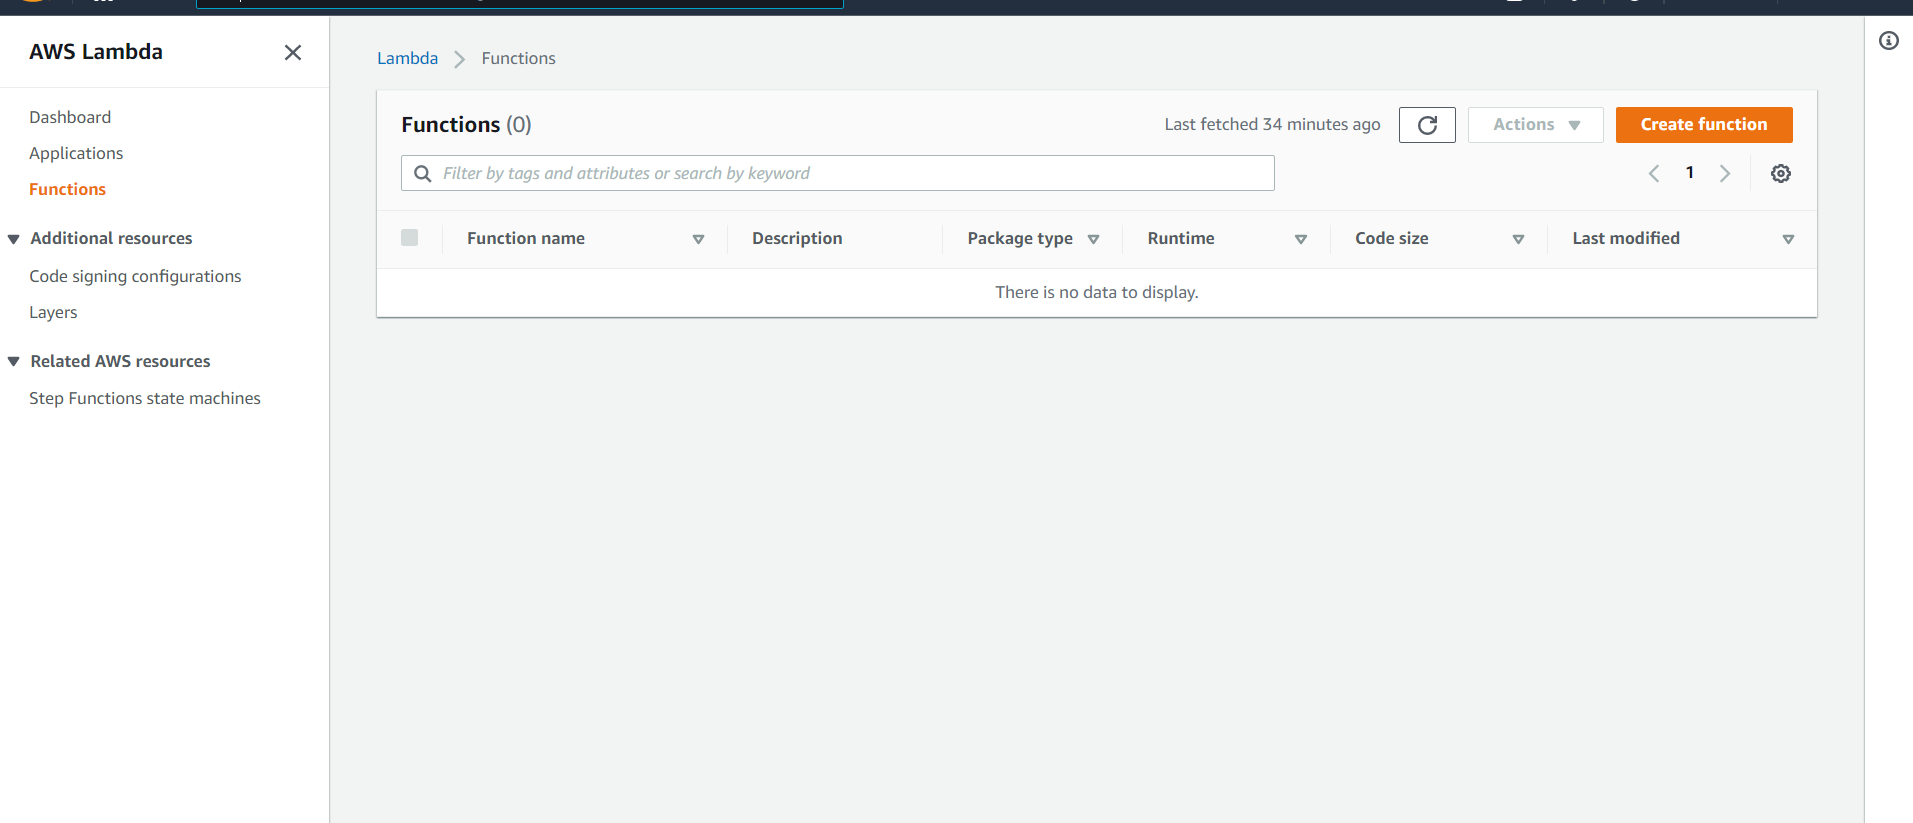
Once you're signed in, search 'Lambda' in the search bar. You should be redirected to the Lambda dashboard
Before you create a Lambda function, you need to identify its inputs and triggers, choose a runtime environment, and decide what permissions and role the service will use.
Lambda functions accept JSON input and JSON output. Your function’s input and output contents are closely tied to the event source that will trigger your function.
An event source is usually a web request, that'll cause the execution of the function code
You also need to select a runtime for your function. We'll be using Node.js
Finally, your function will need an AWS role, that defines the entitlements the function has within the AWS platform.
Click on Create function
Keep the default 'Author from scratch' option selected
Give your function a name as you wish, and leave everything else as it is.

Click on Create function at the bottom of the page
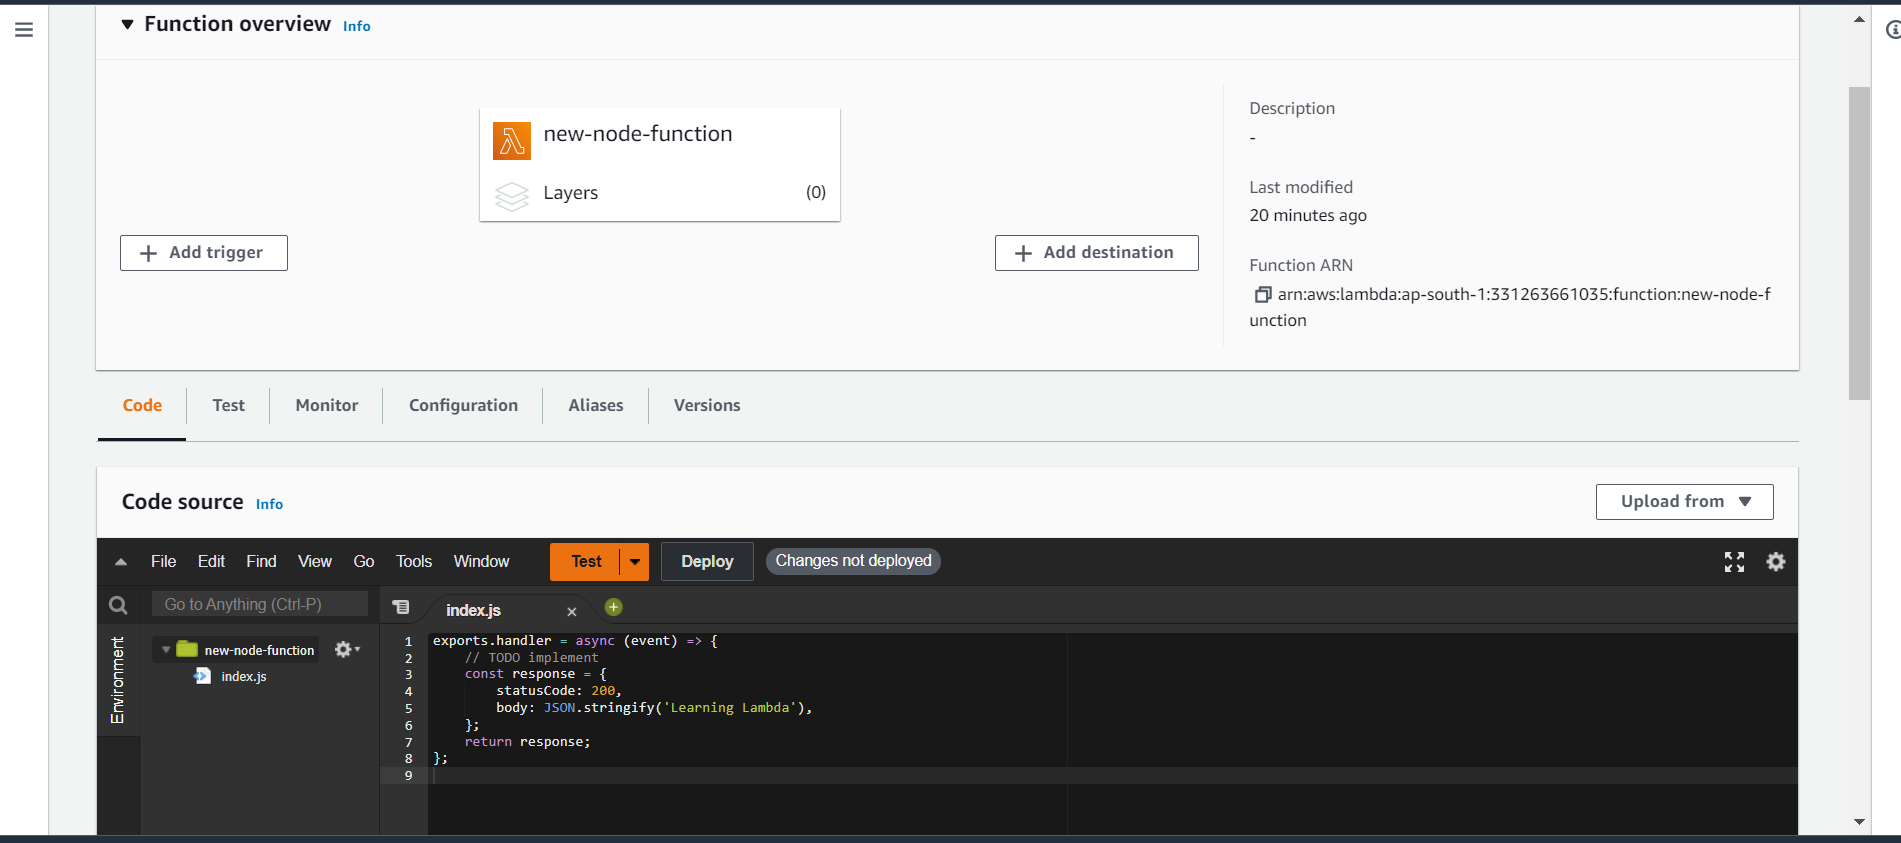
You'll be redirected to the function configuration page, that looks something like this
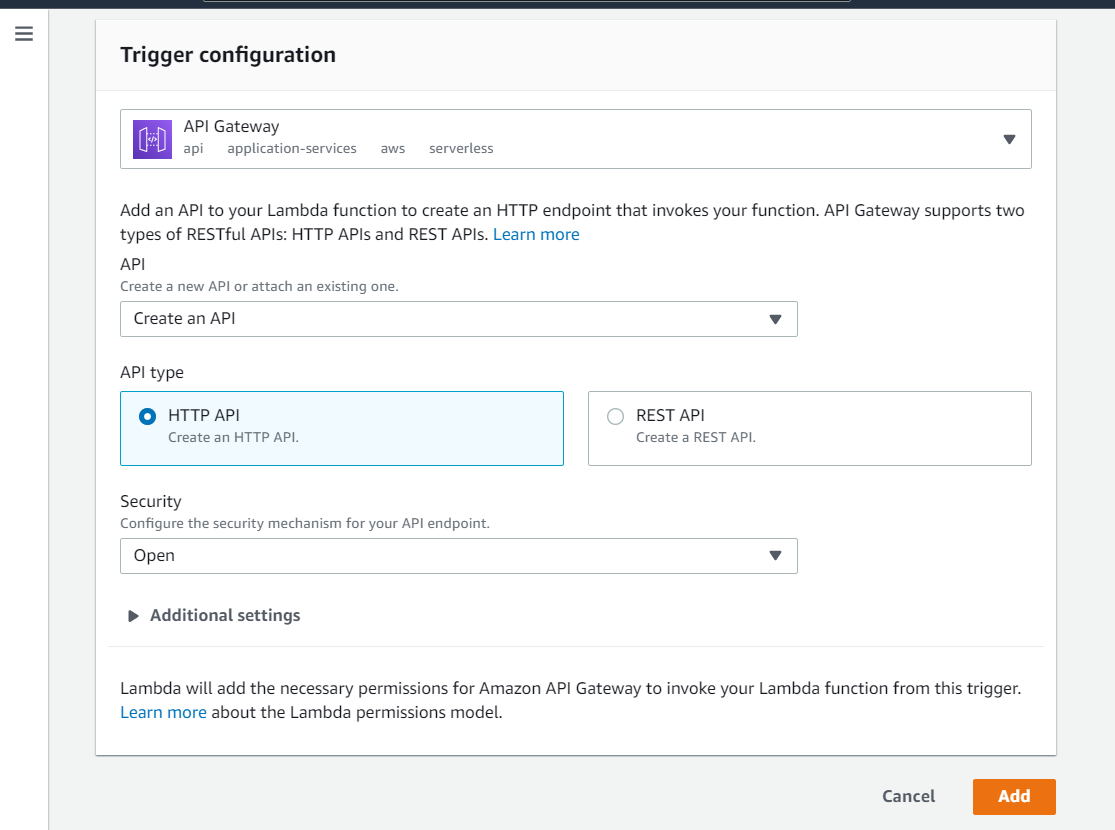
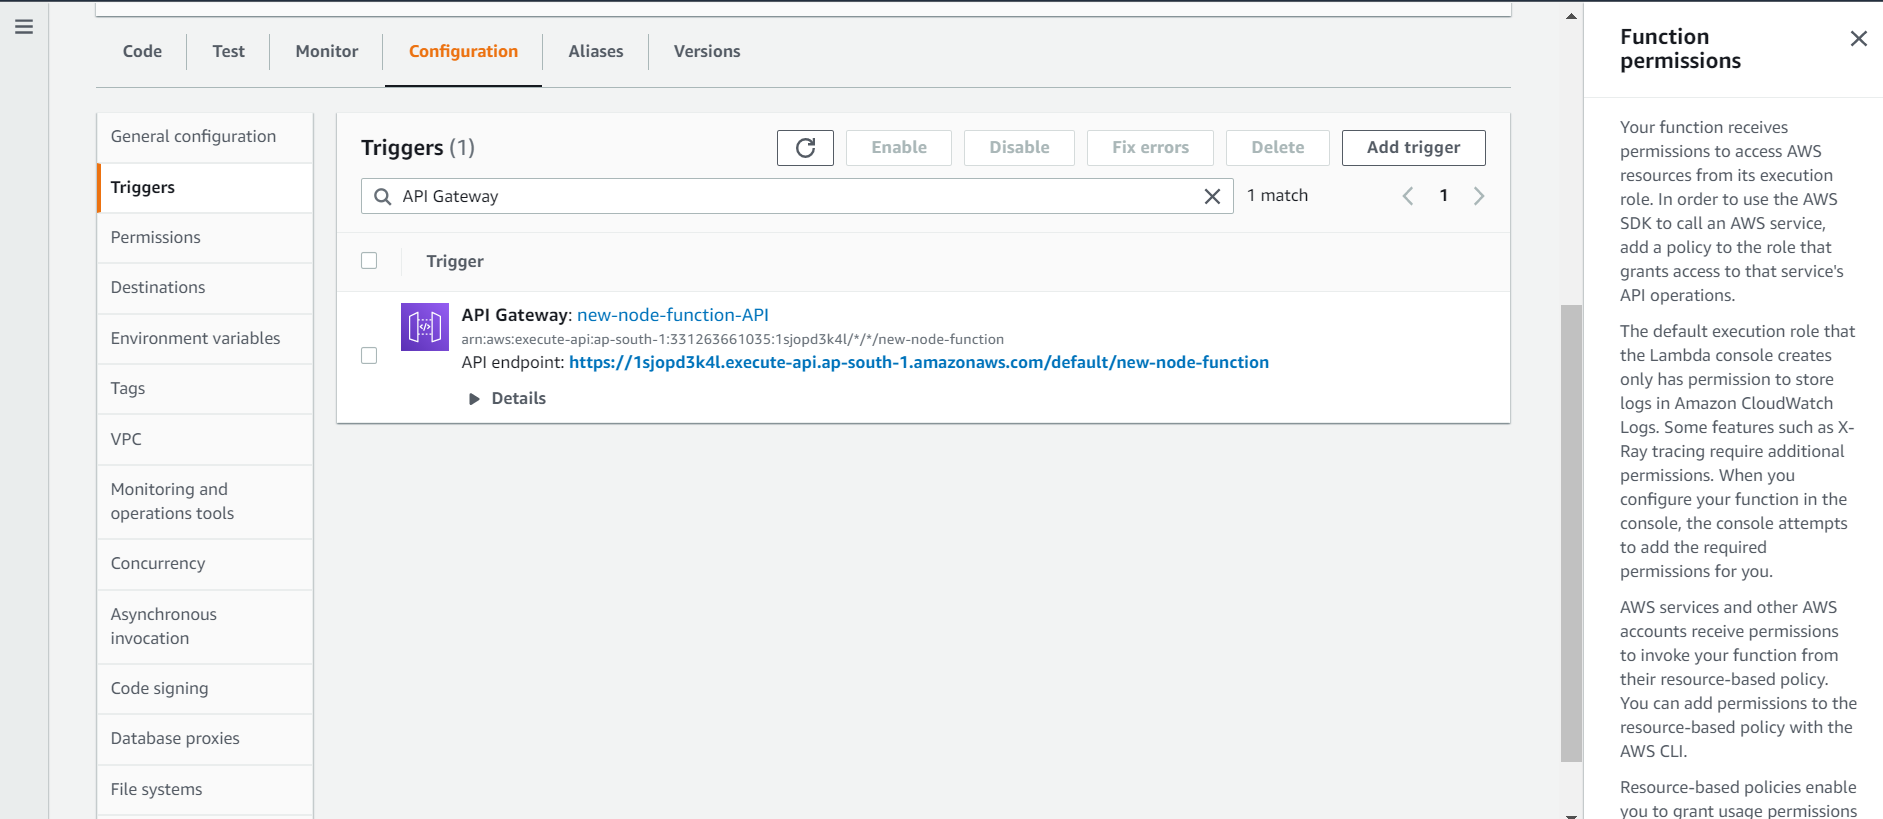
You'll first have to add a trigger for your lambda function. Click on add trigger.
You'll then be asked to choose a trigger - select API Gateway. An API Gateway essentially lets you create, deploy and monitor APIs. In our case, we'll be able to use our function like an API - when we hit the deployed URL, it'll trigger our function.
Choose API type as REST API, security as Open, and leave the rest as it is. Finally, click Add
You'll see that the trigger is added.
Next, you are given a code source window with an integrated code editor, where you can add/edit code and files.
A sample code snippet is provided. You can choose to modify the message to something you wish, and keep the rest of the code as it is for now.
Testing the function#
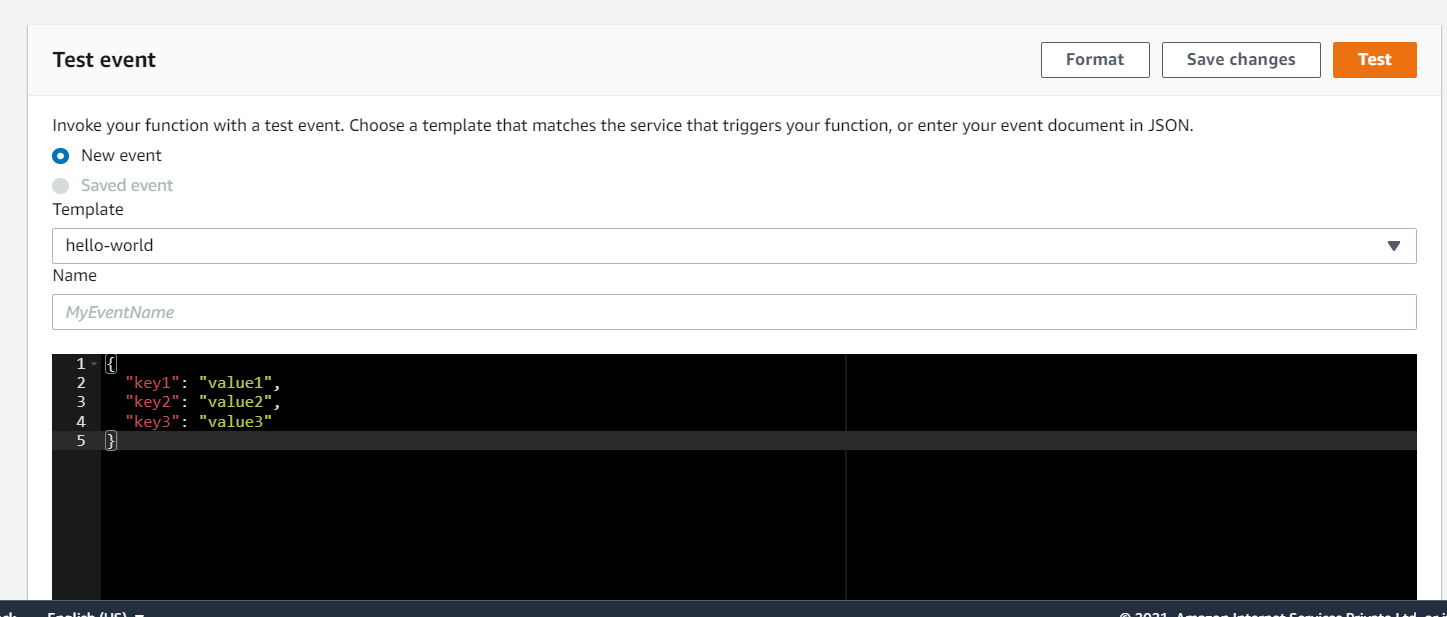
Next, we'll test if the function works as expected. Go to the test tab.
Here, you're given an option to create an event. An event is a happening that triggers the function. It has a JSON input. Since we're not actually using the input in any way, it's not much to us. However, when the lambda function is deployed as a service to some application, there'll be inputs coming in that the function will use. Those inputs can be given here to test if they give the required outcome.
Leave everything unchanged, and click Test.
It'll run the test using the event config, and will pass with the following message in a second or two.
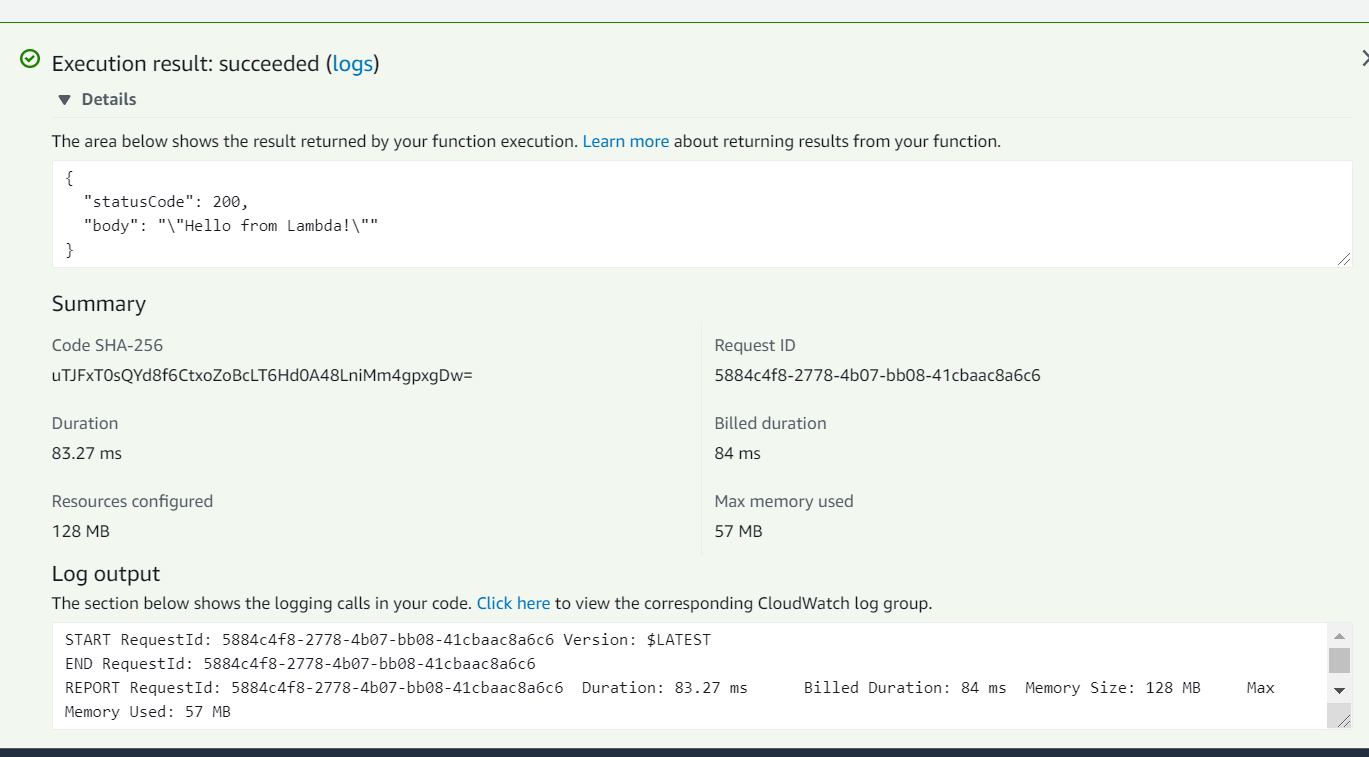
Understanding the result#
The details show the function output. In our case, the status code and the message body.
The summary tab has a few important fields. The duration denotes the time it took for the lambda to run, which is an important pointer when we are running a production grade application and are likely to get timeout/performance issues
The billed duration is another important indicator - you only pay for what you use. Unlike the EC2 instance, where you were charged for the server just being on, irrespective of whether or not anything was running on it, Lambda only charges you for the times your function runs. Thus, being an obvious cost advantage
And the field one of the most significant to our discussion - Resources configured. 128 MB in our case. Do you remember configuring anything at all, apart from the function code itself? Nope. So where did the 128 MB come from? That's the magic - by just telling Lambda what code you need to run, it automatically provisions the resources needed to run it, saving considerable bandwidth of the developers that would've otherwise gone in getting the servers configured.
Deploying the Lambda function#
Go back to the code tab, and click on Deploy
Now, click on API Gateway in Function Overview.
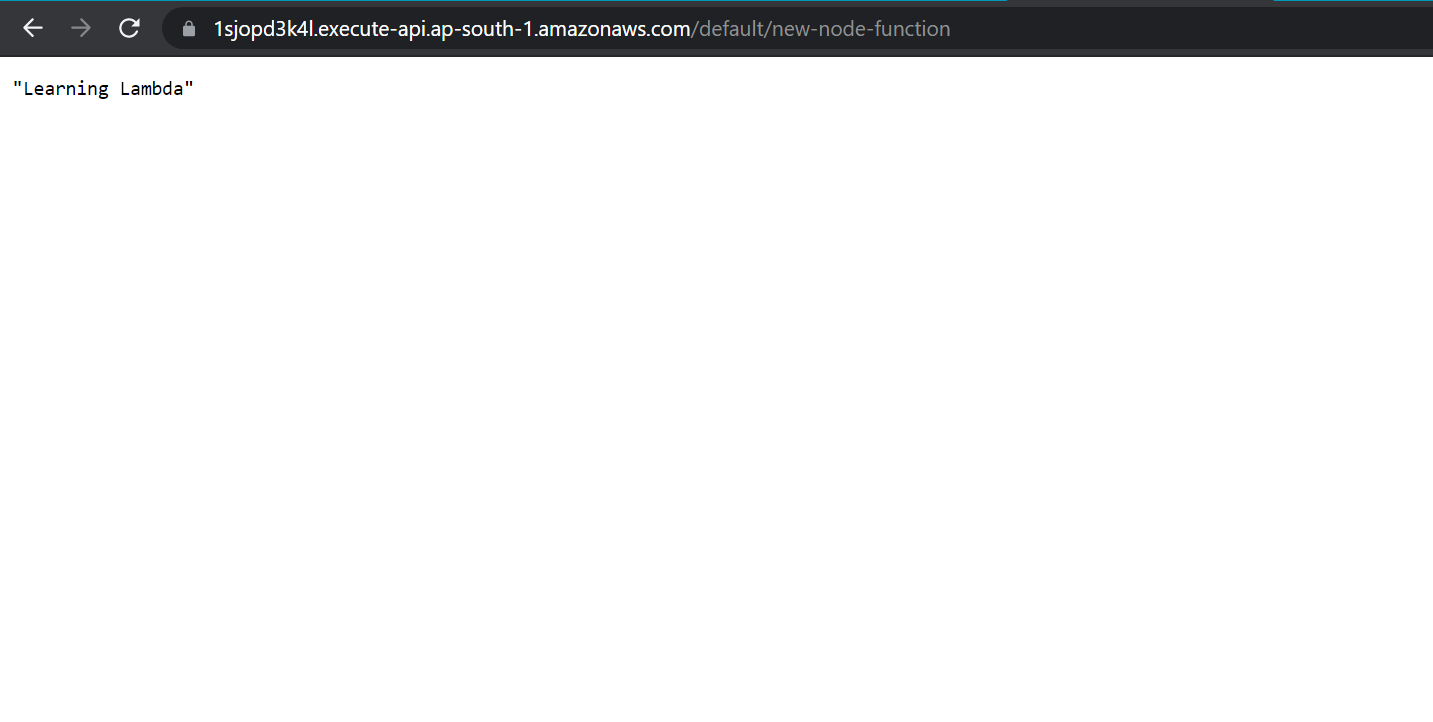
It'll give you the API endpoint. Copy it, and paste it in a new browser tab.
Sure enough, you'll see the learning lambda message on the screen.
Come back to the lambda dashboard and go to the monitor tab. Here, you'll be able to monitor the calls being made to your API. Refresh the page of the API a few times, and you'll see the requests being shown on the graphs
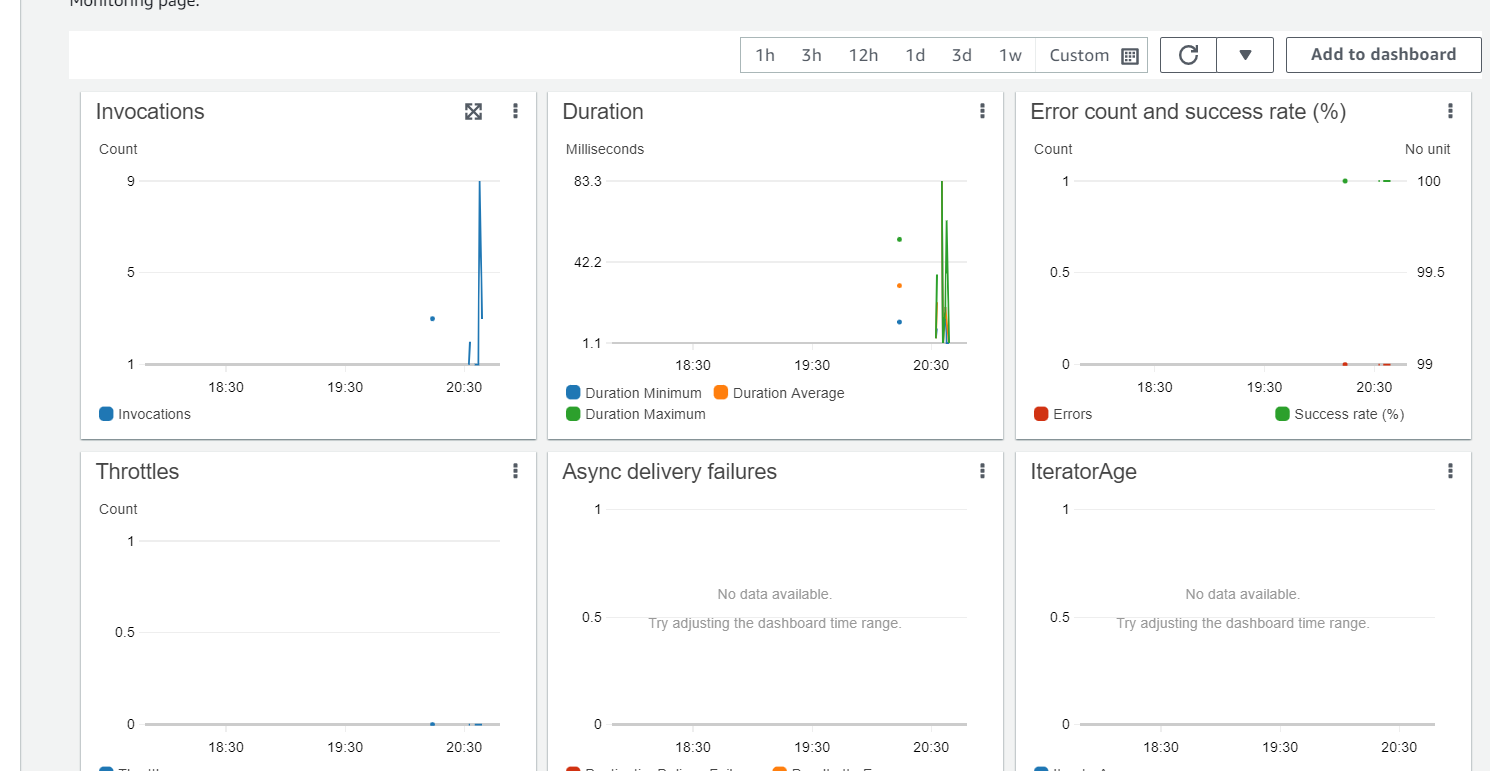
Notice the usefulness of the graphs - The invocations show you how many times the API was invoked.
The error count and success rate let you track if the function is facing downtime/run time errors.
All of this, without having to configure any of it - that's the beauty of Lambda
Adding further code#
Now that your Lambda function is up and running, you can add further code to create actual services, connect it to databases and more.
Conclusion#
Thus, in this tutorial, we got introduced to what serverless means, and how it is beneficial over the traditional server-driven model. We used AWS lambda to setup and configure a NodeJS service, set up a trigger using the API Gateway, and monitored our service, all while having to configure little beyond our business logic.