Overview#
Amplify is an offering by AWS that lets you develop and deploy full stack applications by only focusing on the business logic, with all the configuration being handled behind the scenes.
In this tutorial, we'll understand what Amplify is, how it works, and finally, set up a Todo list application with a GraphQL backend and a React frontend using Amplify
Prerequisites#
You'll need to have Node/NPM and Git installed on your local systems.
You should have an AWS account. Some knowledge of AWS concepts like IAM roles will come in handy, since we'll have to setup an IAM user for connecting our app.
It'll also be useful to have some knowledge of React, since we'll be adding some code for the UI. GraphQL code will also be used, but since it'll be autogenerated, it isn't absolutely necessary for you to know that.
Introduction to AWS Amplify#
Building full stack applications is no small task. And a lot of time is spent on writing boilerplate code that's already been written previously, and not enough effort can be put in developing the business logic of the application. Moreover, once the app has been built, deploying and scaling it is another major blocker for development teams to handle.
Amplify tries to alleviate these use cases. It abstracts away some core functionalities by leveraging existing AWS services and code, and allows developers to only add the business logic of the application and configuring the rest of the application intelligently.
Some of the existing AWS services that are leveraged by Amplify include AppSync for GraphQL. Cognito to handle authentication and DynamoDB for database.
Amplify also provides other features like REST APIs, Lambda functions support and adding prebuilt Figma components into the frontend of the app, all of which are very frequent use cases
The process we'll follow#
We'll first setup the Amplify CLI on our local systems. We'll then setup the AWS profile to connect our app to AWS. We'll then add the frontend and the GraphQL code respectively, to get our app running.
Setting up Amplify on local#
Create a new folder called amplify-app. Open the command line and navigate to this folder
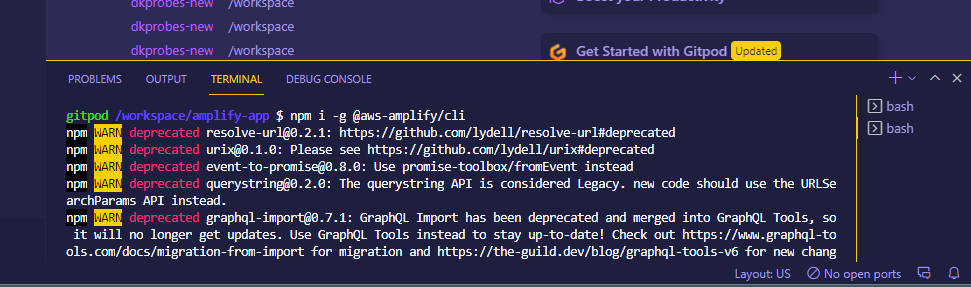
We'll start with installing the Amplify CLI. It's the command line application for Amplify that'll allow us to configure our app using commands. Use the following command to install Amplify
npm install -g @aws-amplify/cli
Next, we'll be configuring Amplify by creating an AWS IAM user.
Enter
amplify configure
You'll be prmoted to enter a username and select a region. You can choose anything you wish for both, just make sure to remember it.
You'll then be prompted to sign in to your AWS account on the browser
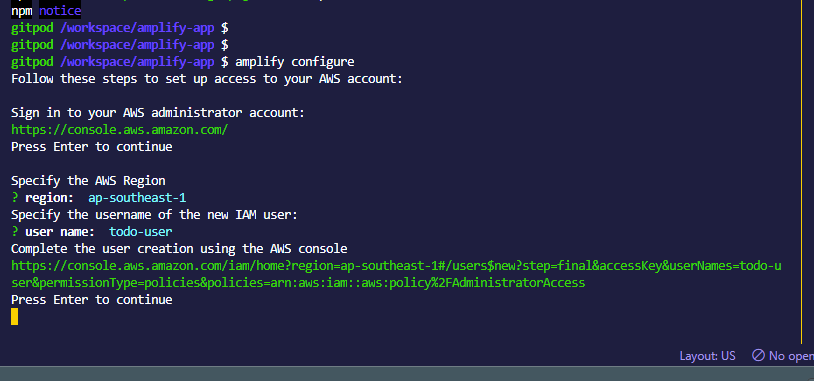
Once you're signed in, you'll have to create an IAM(Identity and Access Management) user. It's this user whose credentials will be used for the app.
The username will have been auto populated.
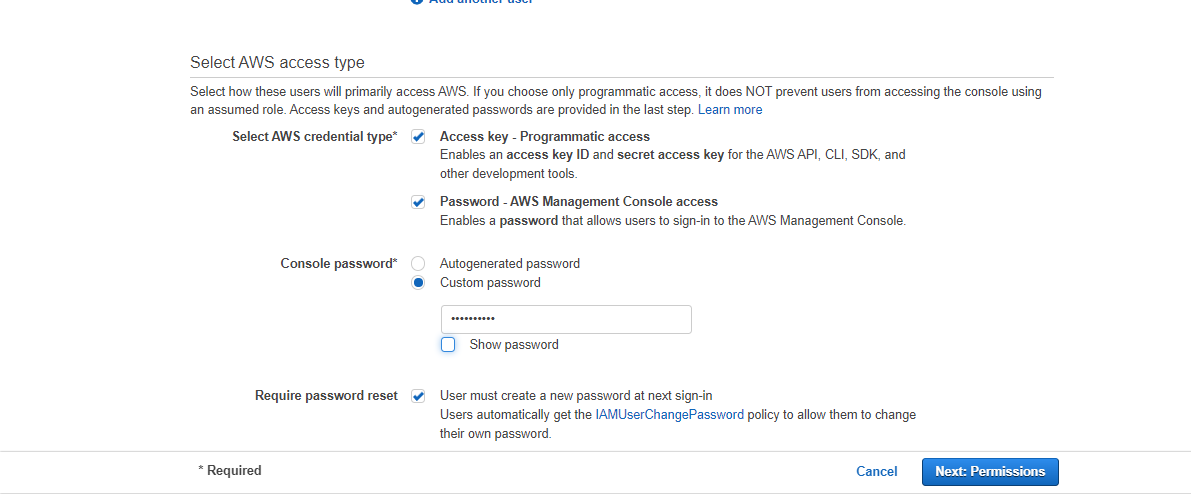
Check the password and custom password option and add a custom password, since it's easier than auto generated password. Do note that the access keys option should remain checked.
Then keep hitting next until you get the button to Create the user and click it
Your user will be created with an access key id and a secret key. Keep the window open since you'll be needing the details.
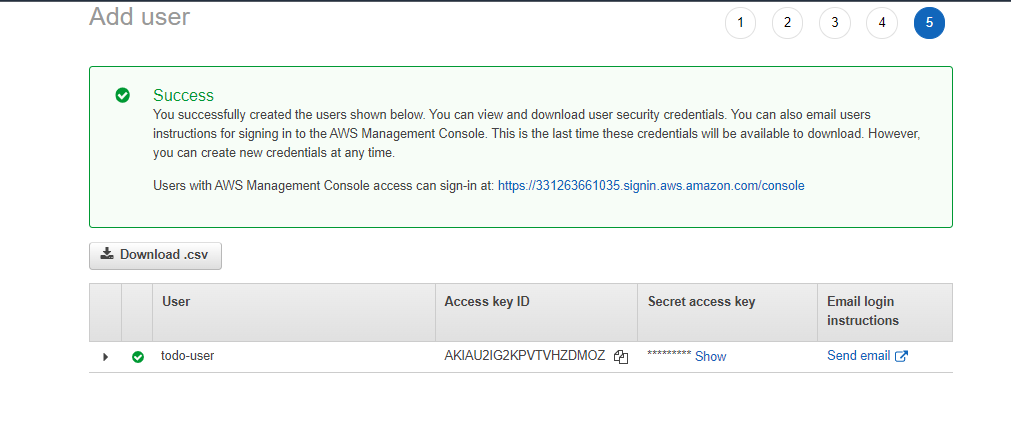
Come back to the terminal and press enter
You'll be prompted to add, first the access key id and then the secret. Copy and paste both of them.
If you're prompted to add a profile name, add a random one.
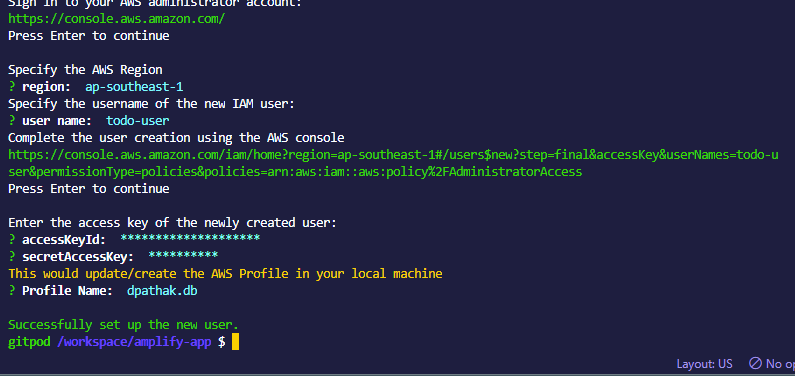
With this, our AWS profile setup is complete
Setting up React app#
Use the following command to set up the default react application and name it todo-amplify
npx create-react-app todo-amplify

cd todo-amplify

npm run start

This will start the sample React app on localhost:3000.
Close the app and keep it on hold. We'll come back to the frontend in a bit
Initialize backend#
Type
amplify init
to start the setup for the backend
You'll be asked for some configuration options like this :
Enter a name for the project (react-amplified)

# All AWS services you provision for your app are grouped into an "environment"
# A common naming convention is dev, staging, and production
Enter a name for the environment (dev)

# Sometimes the CLI will prompt you to edit a file, it will use this editor to open those files.
Choose your default editor

# Amplify supports JavaScript (Web & React Native), iOS, and Android apps
Choose the type of app that you're building (javascript)

What JavaScript framework are you using (react)

Source directory path (src)

Distribution directory path (build)

Build command (npm run build)

Start command (npm start)

# This is the profile you created with the `amplify configure` command in the introduction step.
Do you want to use an AWS profile
Keep hitting enter to choose all the default options. For the AWS profile, choose the one you'd created previously. The setup will eventually finish in a few seconds
So what exactly happens#
When you initialize a new Amplify project, a few things happen:
-
It creates a top level directory called amplify that stores your backend definition. During the tutorial you'll add capabilities such as a GraphQL API and authentication. As you add features, the amplify folder will grow with infrastructure-as-code templates that define your backend stack. Infrastructure-as-code is a best practice way to create a replicable backend stack.
-
It creates a file called
aws-exports.jsin thesrcdirectory that holds all the configuration for the services you create with Amplify. This is how the Amplify client is able to get the necessary information about your backend services. -
It modifies the
.gitignorefile, adding some generated files to the ignore list -
A cloud project is created for you in the AWS Amplify Console that can be accessed by running
amplify console. The Console provides a list of backend environments, deep links to provisioned resources per Amplify category, status of recent deployments, and instructions on how to promote, clone, pull, and delete backend resources
Back to the frontend#
We'll install the 2 packages we're going to need for the project, using :
npm install aws-amplify @aws-amplify/ui-react@1.x.x

Next, we'll update our client with the backend configuration stuff. Open src/index.js of your React app and add the following code at the top
import Amplify from "aws-amplify";
import awsExports from "./aws-exports";
Amplify.configure(awsExports);
And that's all it takes to configure Amplify. As you add or remove categories and make updates to your backend configuration using the CLI, the configuration in aws-exports.js will update automatically.
Finally, update your src/App.js with the logic for Todo :
/* src/App.js */
import React, { useEffect, useState } from 'react'
import Amplify, { API, graphqlOperation } from 'aws-amplify'
import { createTodo } from './graphql/mutations'
import { listTodos } from './graphql/queries'

import awsExports from "./aws-exports";
Amplify.configure(awsExports);

const initialState = { name: '', description: '' }

const App = () => {
  const [formState, setFormState] = useState(initialState)
  const [todos, setTodos] = useState([])

  useEffect(() => {
    fetchTodos()
  }, [])

  function setInput(key, value) {
    setFormState({ ...formState, [key]: value })
  }

  async function fetchTodos() {
    try {
      const todoData = await API.graphql(graphqlOperation(listTodos))
      const todos = todoData.data.listTodos.items
      setTodos(todos)
    } catch (err) { console.log('error fetching todos') }
  }

  async function addTodo() {
    try {
      if (!formState.name || !formState.description) return
      const todo = { ...formState }
      setTodos([...todos, todo])
      setFormState(initialState)
      await API.graphql(graphqlOperation(createTodo, {input: todo}))
    } catch (err) {
      console.log('error creating todo:', err)
    }
  }

  return (
    <div style={styles.container}>
      <h2>Amplify Todos</h2>
      <input
        onChange={event => setInput('name', event.target.value)}
        style={styles.input}
        value={formState.name}
        placeholder="Name"
      />
      <input
        onChange={event => setInput('description', event.target.value)}
        style={styles.input}
        value={formState.description}
        placeholder="Description"
      />
      <button style={styles.button} onClick={addTodo}>Create Todo</button>
      {
        todos.map((todo, index) => (
          <div key={todo.id ? todo.id : index} style={styles.todo}>
            <p style={styles.todoName}>{todo.name}</p>
            <p style={styles.todoDescription}>{todo.description}</p>
          </div>
        ))
      }
    </div>
  )
}

const styles = {
  container: { width: 400, margin: '0 auto', display: 'flex', flexDirection: 'column', justifyContent: 'center', padding: 20 },
  todo: {  marginBottom: 15 },
  input: { border: 'none', backgroundColor: '#ddd', marginBottom: 10, padding: 8, fontSize: 18 },
  todoName: { fontSize: 20, fontWeight: 'bold' },
  todoDescription: { marginBottom: 0 },
  button: { backgroundColor: 'black', color: 'white', outline: 'none', fontSize: 18, padding: '12px 0px' }
}

export default App
Setting up API and Database#
The API you will be creating in this step is a GraphQL API using AppSync and DynamoDB database
Use the following CLI command to initialize the API creation :
amplify add api
You'll be prompted through a list of options. Keep hitting enter to choose the default ones

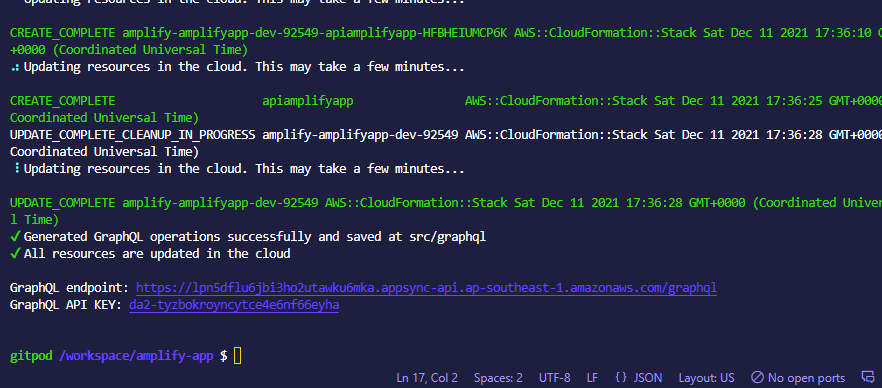
Once it's complete, we'll push the changes using
amplify push
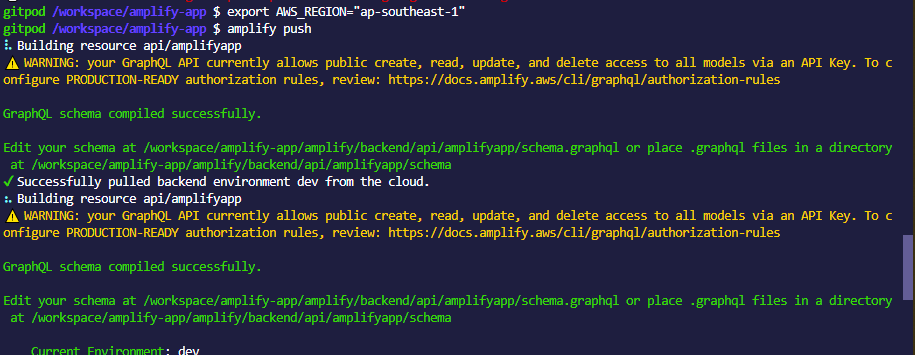

Once it completes, it gives you the endpoint and an API key
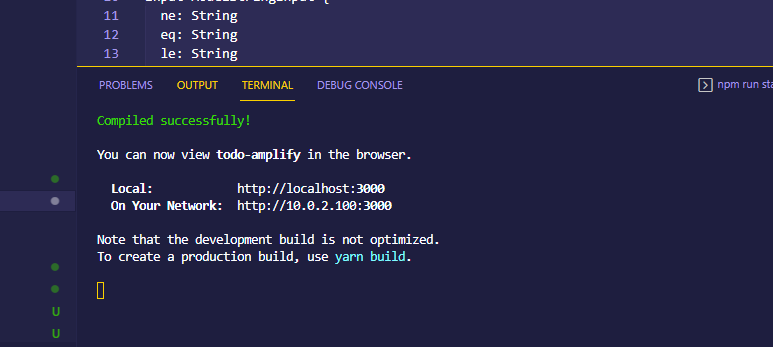
Once it's done, run the React app again, and going to localhost:3000, you should see your todo app
Deploying your app to Amplify cloud#
Additionally, you can also deploy your todo application to Amplify cloud using the following commands :
amplify add hosting

amplify publish
Conclusion#
Thus, with this, you've completed developing an entire full stack application, with the only code you had to write being the business logic for the todo. Imagine the time and effort saved when all the GraphQL code, and the connections came up magically outta nowhere!