Overview#
In this tutorial, we'll be taking a ground-up understanding of what Continuous Integration-Delivery-Deployment means, why it's so useful in modern software development and DevOps. We'll then use a hands on example of configuring a CI pipeline for a sample React application using Github actions, understanding some syntax along the way. We'll then use netlify to connect our repo to Netlify and configuring a CD pipeline.
Prerequisites#
You'll need a Github account. We'll be using a sample React application to set up the workflow, and it might help to understand how to run a React app, although any detailed understanding is not necessary, since we won't be adding any React code in this tutorial.
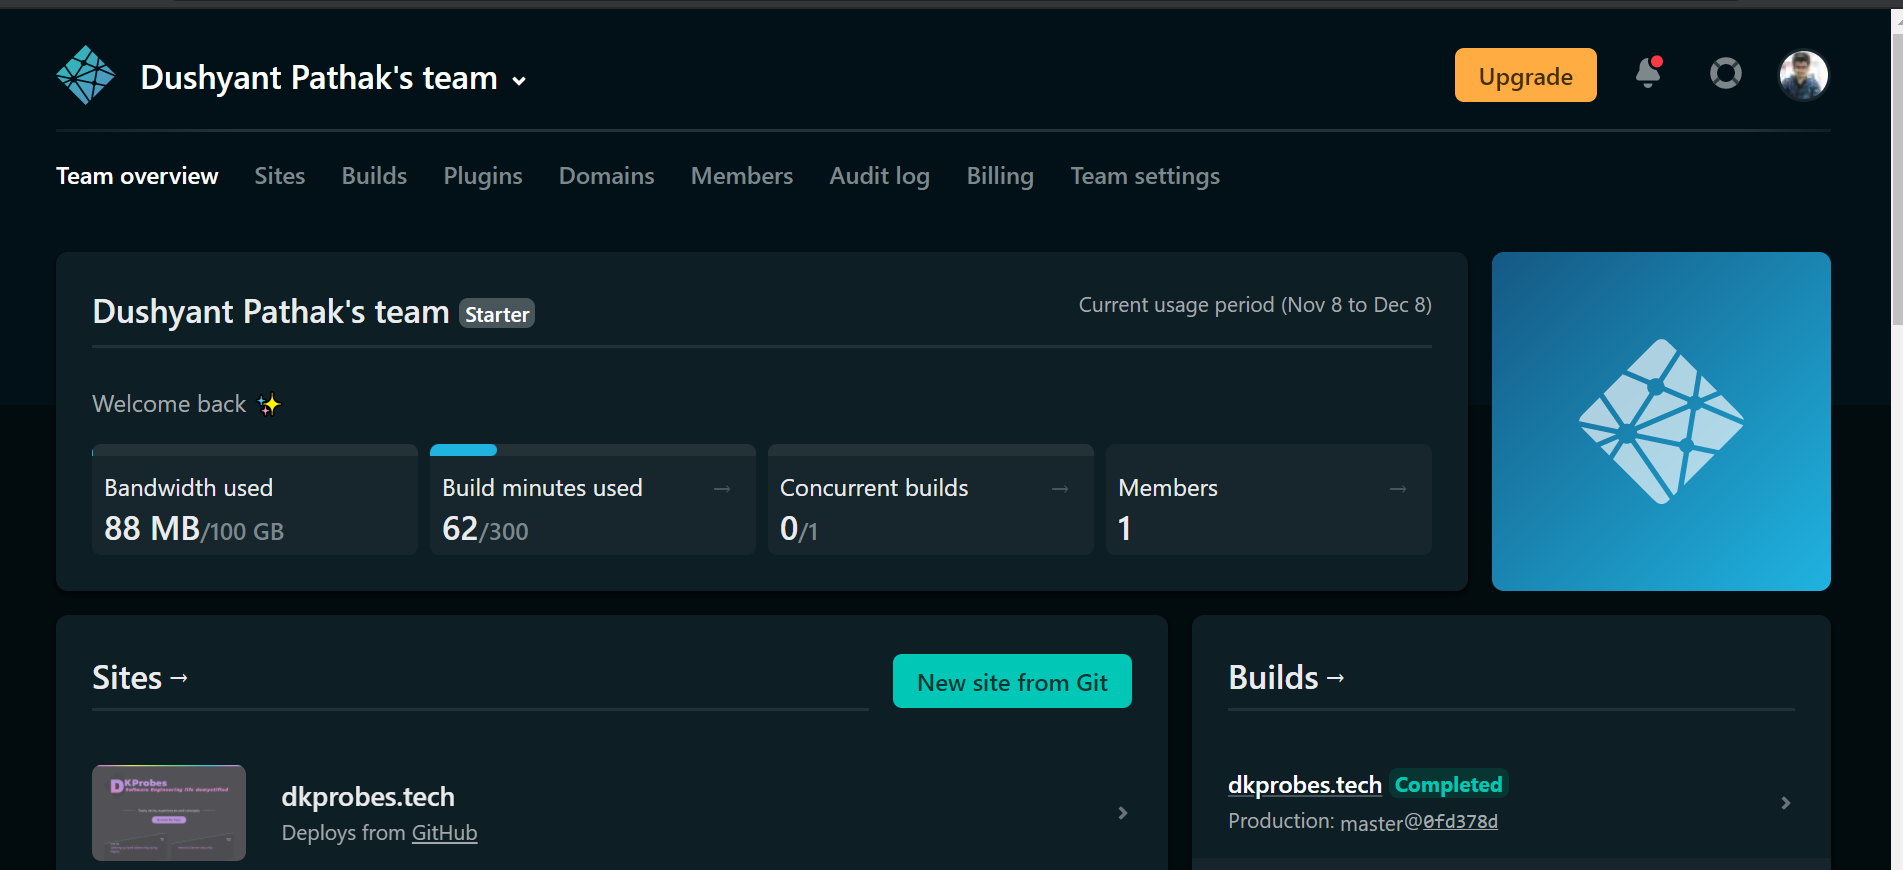
You'll also need an account on netlify.com, which we'll be connecting with the Github account to set up a CD pipeline. All of this is entirely free.
Introduction to CI CD#
Disclaimer : Some of the practices might seem vague or overkill right now, especially for those who have not had experience working in large teams. However, CI CD was developed keeping in mind software development for large, distributed teams.
In any team delivering software for a client, it is not enough to just push your code along to a remote repository and be done with it. There's an entire process that happens once you're done coding, and it's fraught with complications.
There'll be tens or hundreds of developers making changes to the same codebase, all with different coding styles. Your code might not work with the most recent push made by another developer. Your code might not be good quality, which might make it difficult for other developers to understand it/build up on it. Your code might 'work on your machine', but it might not work in the higher environments.
All of these things can go wrong, and they do, so much so that they forced the industry pioneers to come up with an approach to ensure that any new code that was being pushed followed a set of guidelines, and that it went through a series of steps before it finally got merged into the main codebase. This process was rote enough to not be done manually each time somebody pushed something, and thus, there were tools developed to automate the checks and steps that needed to be taken.
This process, is called Continuous Integration. Your code is continuously 'integrated' into the application, AFTER ensuring that automated tests and other scripts run onto it confirm that it doesn't break some existing feature and is of good quality.
A sample CI workflow looks something like this (It differs by team - this is just a sample one) :
-
Developer pushes the code into her/his feature branch. No one pushes code directly into master branch in a development team.
-
Developer seeks code reviews from teammates and raises a pull request
-
As soon as the PR is raised, a step in the CI workflow is triggered and a build starts using the new code, on a build automation tool like Jenkins or Teamcity. If the build fails, it's pointless to carry on to further steps, and the code is reverted to the developer asking her/him to check why it failed and make the changes.
-
If the build passes, the reviewers manually check the changes made by the dev and approve the PR.
-
Once the necessary number of approvals have been granted, the next workflow step gets triggered, wherein automated tests are run on the code to ensure the functionality is working as expected
-
Further checks MIGHT be made by automated tools checking for code quality or test coverage using tools like SonarQube(SonarLint) or Codecov. These tools raise flags if the new code does not follow some coding standards configured by the team. The developer has to rectify those and restart the workflow.
-
Once the checks are complete, the code then 'tries' to get merged onto the main branch. If there's some other code commit made on the same lines as this push has, there is an automatic merge failure that the developer has to resolve manually.
-
If not, the code gets merged into the main branch.
This might sound like a lot of work, but in a complex project, it's critical to ensure that any new change is the 'right change', or it could take weeks to unroll if it passes undetected. Moreover, with the practice of automated CI, almost all the steps are done automatically, without the need of someone to manually push the code along to the next workflow step.
Thus, CI is about pushing code in small increments as frequently as possible, ensuring that it's bug free and follows best practices, and finally merging it into the main code.
CD is a term that can refer to Continuous Deployment, and/or Continuous Delivery, usually referring to both, first Delivery, then Deployment. Atlassian describes the difference between Delivery and Deployment as while Delivery requires a manual intervention for pushing to a production environment, deployment automates that step as well.
Once your code is pushed into the master branch at the end of a CI workflow, it needs to now go through various testing environments where further tests like FT(Functional testing), SIT(System Integration Testing) and UAT(User Acceptance Testing) are run to ensure the application is working as expected. And once it's gone through all the testing environments, the final release to production can be done manually(c. delivery), or automatically(c. deployment)
Intro to GitHub Actions#
GitHub actions is a tool provided by Github that helps you create and run the workflows for CI/CD. By creating a simple workflow file, you can ensure that once your code is committed to GitHub, it'll get released to your production environment entirely on its own without requiring any effort from you.
GitHub actions is an extremely popular tool for beginners, since, unlike other CI tools like Jenkins, it's extremely simple to set up and start, and abstracts away a lot of the setup that newbies need not bother themselves with.
How does it work?#
Actions uses code packages in Docker containers, which run on GitHub servers and which, in turn, are compatible with any programming language. There are tons of preconfigured workflows available across frameworks like Node, Python, Java, which we can pick and customize for our application, and that's precisely what we're going to do when we get to the hands on.
Terms#
There are a few terms that will be used in the configuration files that we need to look through. Fortunately, they're more or less exactly like they sound :
-
Step : A set of tasks that need to be performed. They can be commands like
run:npm cior other actions, like checking out a specific branch -
Work : It is a set of steps that run-in runner of our process. The works can be executed independently or sequentially depending on whether the success of our work depends on the previous one.
-
Workflow : This is what we'll be creating as our end goal - a workflow. It is an automated procedure composed of one or more jobs that is added to a repository and can be activated by an event. They are defined by YAML files and with it you can build, test, package, relay or deploy a project.
-
Event : These are specific activities that trigger the execution of a workflow. For instance, committing to a specific branch, a new PR and so on.
-
Action : Smallest building block of a workflow and can be combined as steps to create a job.
-
Runner : It is a machine with the GitHub Actions application already installed, whose function is to wait for the work to be available and then be able to execute the actions and report the progress and the results.
Introduction to Netlify#
Netlify is a platform that allows you to host and deploy frontend applications. It is an extremely popular tool for newbies because it takes no more than a few clicks to deploy an application code on Github direct to Netlify.
Sample application to set up workflow#
We'll be setting up the workflow using a simple React application - https://github.com/dkp1903/react-github-actions. You need not clone it to your local, since we will not be making any code changes to the app. Instead, you'll have to fork the repo to your own github using the fork button available on the top right corner.
Once it's done, go to the Actions tab on Github, and select the NodeJS workflow.

It'll create a file called node.js.yml with some prewritten configuration, like this :
# This workflow will do a clean install of node dependencies, cache/restore them, build the source code and run tests across different versions of node
# For more information see: https://help.github.com/actions/language-and-framework-guides/using-nodejs-with-github-actions

name: Node.js CI

on:
  push:
    branches: [ main ]
  pull_request:
    branches: [ main ]

jobs:
  build:

    runs-on: ubuntu-latest

    strategy:
      matrix:
        node-version: [12.x, 14.x, 16.x]
        # See supported Node.js release schedule at https://nodejs.org/en/about/releases/

    steps:
    - uses: actions/checkout@v2
    - name: Use Node.js $NaN
      uses: actions/setup-node@v2
      with:
        node-version: $NaN
        cache: 'npm'
    - run: npm ci
    - run: npm run build --if-present
    - run: npm test
The 'on' field describes when this particular workflow will be run. Right now, it's set to all pushes to and pull requests on, the main branch.
'runs-on' desribes the environment the code will be run on, on Github servers. It's Ubuntu 20, and we'll leave it at that.
The node versions to be checked against are 12, 14 and 16, so we'll have three different jobs running parallely when the workflow gets triggered. We'll leave this one as it as well.
The 'run' fields signify the commands to be run, first the npm ci(clean install). We'll change that to npm i for ease of understanding.
Then the npm run build with the --if-present flag, which means that the build script will run only if the build script is present. Fortunately, our app does have a build script, so we'll leave this as wlel
Finally, the npm test command will run the test file we have(App.test.js) which contains just a single test.

Click on the start commit button on the top right. Once you do, the workflow will automatically be triggered.
There will be three jobs running in parallel, one each for Node versions 12, 14 and 16. The jobs will all be successful in a few minutes.

Open the build 12, and look at the steps that were followed. If you open the npm test one, it will see that there's one test, which had passed.

We'll soon mess with that.
We've set up the CI part of the CI/CD pipeline. Now, for the CD, we'll connect our repository to Netlify, where we'll host our react application code.
Go to netlify.com and sign up using Github, using the same github account as your react-github-actions repo is on.
Now, click on New site. Select provider as Github. Search for the react-github-actions repo and add it.

You'll be asked for some details.
Changed the build command to npm run build

Click on Deploy site.
Once you do, the deploy will be auto triggered.

So, now that we've everything running smoothly, we'll make a mess of things by introducing a breaking change, because, things don't work at one go in software development
Go to Github, and edit the App.js file by removing the words 'React App'.
Add the commit message as 'added-breaking-change', and instead of pushing directly to the master branch, click on create a new branch. You may name it anything.
Now, we'll make a PR into the master branch.
If you remember, we'd configured the CI pipeline to work in two cases : One, if a push was made to master, and two, if there was a PR raised.
So this time, as soon as we raise the PR, the workflow should be triggered.

Sure enough, you'll see the steps being run.
We see that the checks fail.
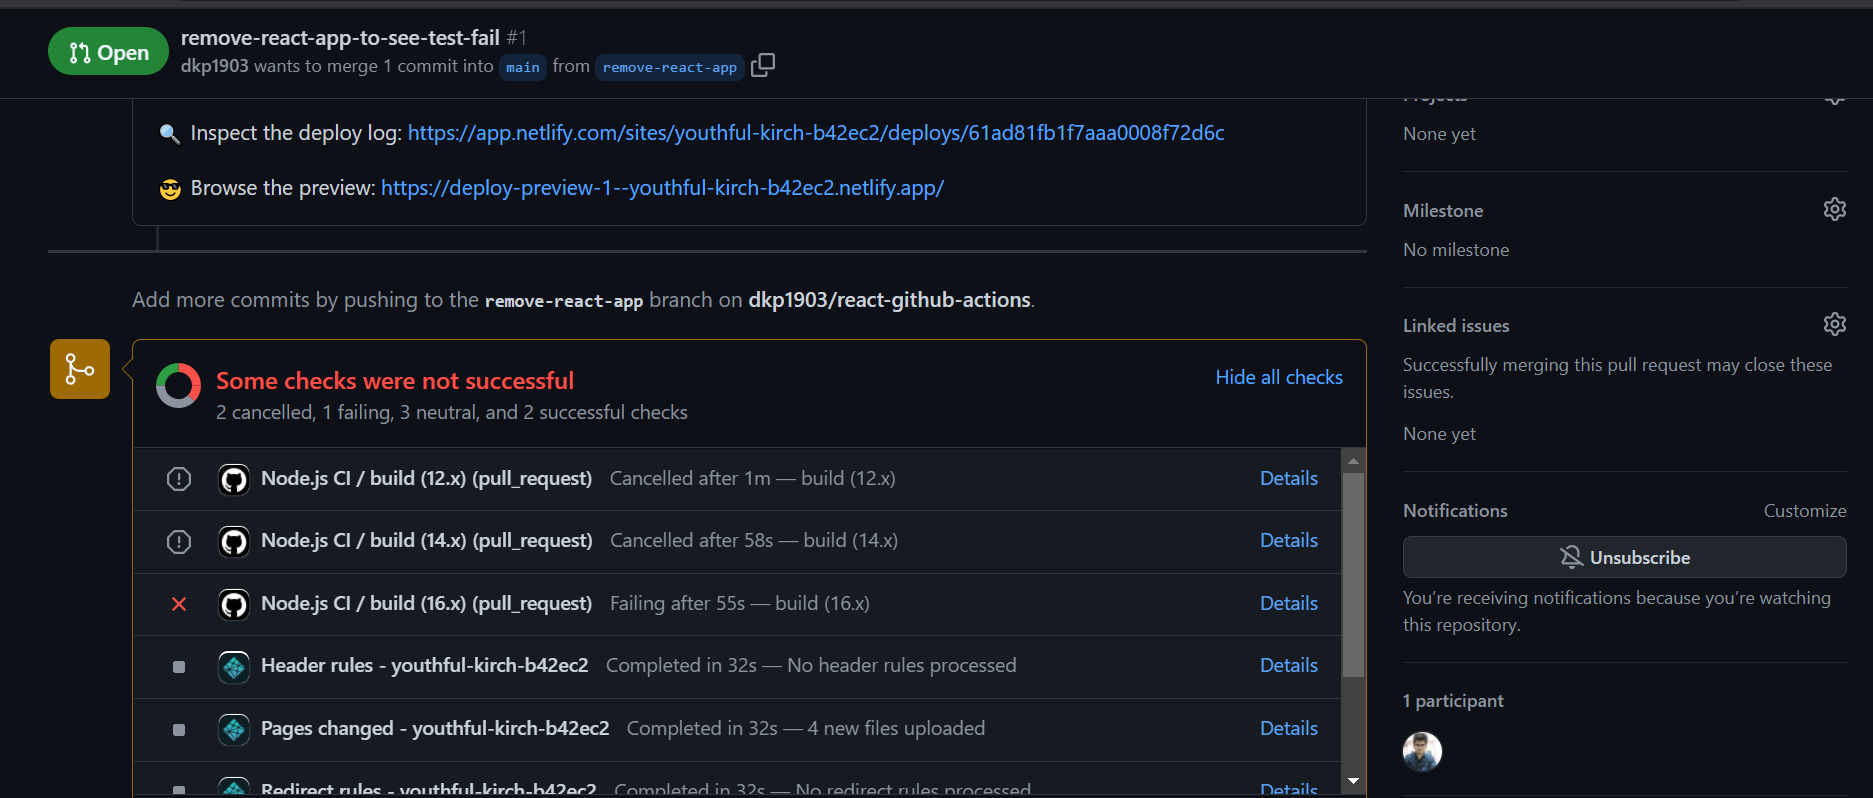
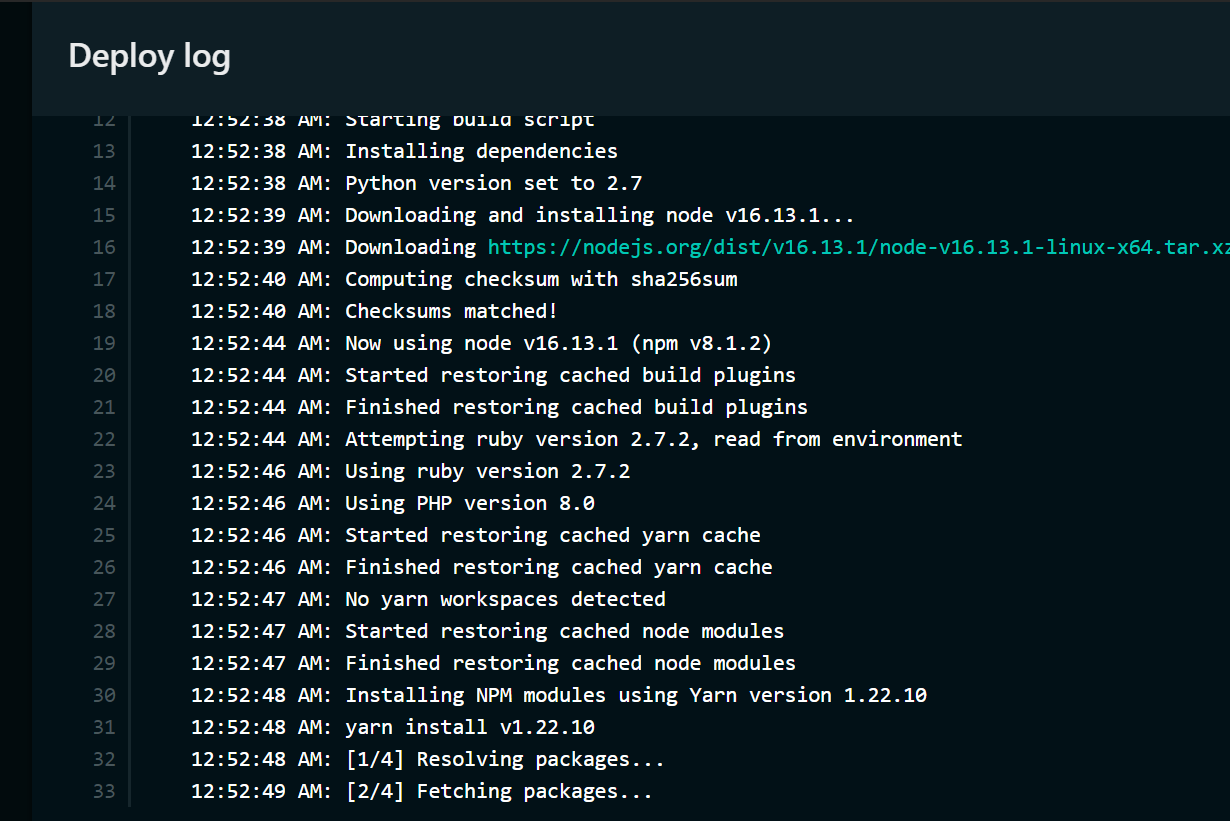
If you go to the Actions tab and check the CI logs, you'll see that the test failed, which is what we'd expected.
Go to Netlify and confirm that no deployment has started.
Now, add the 'React App' back into the file and make a commit into the same branch.
The tests will now run again, and you'll see that they pass now. Once the tests pass, you can merge the Pull request
And going to Netlify, you'll see that a deploy has been triggered
Conclusion#
Thus, you understood the concepts of CI/CD, how they work in a production environment. You set up an application configured CI on it using Github actions and CD using Netlify. You confirmed the flow by purposely failing the CI test and ensured that an incorrect deployment did not get triggered.
References#
- (CI vs CD vs CD)[https://www.atlassian.com/continuous-delivery/principles/continuous-integration-vs-delivery-vs-deployment]